
Vegan Kimchi – A Beginner‑Friendly Fermentation Adventure
Vegan Kimchi isn’t just a side dish; it’s a portal to the vibrant flavors of Korean cuisine and a hands‑on introduction to the world of fermentation. Whether you’re a novice cook looking for a manageable project or an intermediate enthusiast eager to experiment, this recipe delivers a crunchy, tangy, and utterly addictive result—all while staying completely plant‑based.

Introduction
Kimchi has long been celebrated as Korea’s national dish, a fermented staple that packs a punch of umami, heat, and a subtle sweetness. Traditionally, it’s made with napa cabbage, radish, and a mix of spices, finished with fish sauce or fermented shrimp for depth. But what if you’re vegan, or simply looking to avoid animal products? Enter Vegan Kimchi—a recipe that swaps out fish sauce for a savory red miso paste, keeping the authentic flavors while making it 100 % plant‑based.
This guide, based on Ching He Huang’s step‑by‑step method, walks you through every stage—from salting the cabbage to the final fermentation. By the time you finish, you’ll have a jar of bright, spicy, and tangy kimchi ready to elevate soups, stews, and stir‑fries. And best of all, the process is straightforward enough that even a kitchen rookie can master it.
Meal Profile
| Attribute | Detail |
|---|---|
| Title | Vegan Kimchi |
| Difficulty | Easy |
| Portion | Makes 1.5 L (including the cabbage and juices) |
| Hands‑on Time | 15 min |
| Fermentation Time | 6–8 h soaking + 3 days active + 2 weeks optional |
| Total Time | ~2 weeks (including fermentation) |
Why This Recipe Stands Out
- Vegan Friendly – No fish sauce or shrimp, just a splash of red miso for depth.
- Quick Prep – 15 minutes of active cooking, followed by passive fermentation.
- Flavor Flexibility – Adjust the spice level by tweaking the gochugaru or adding extra miso.
- Health Boost – Fermentation creates probiotics, while the veggies supply vitamins, minerals, and fiber.

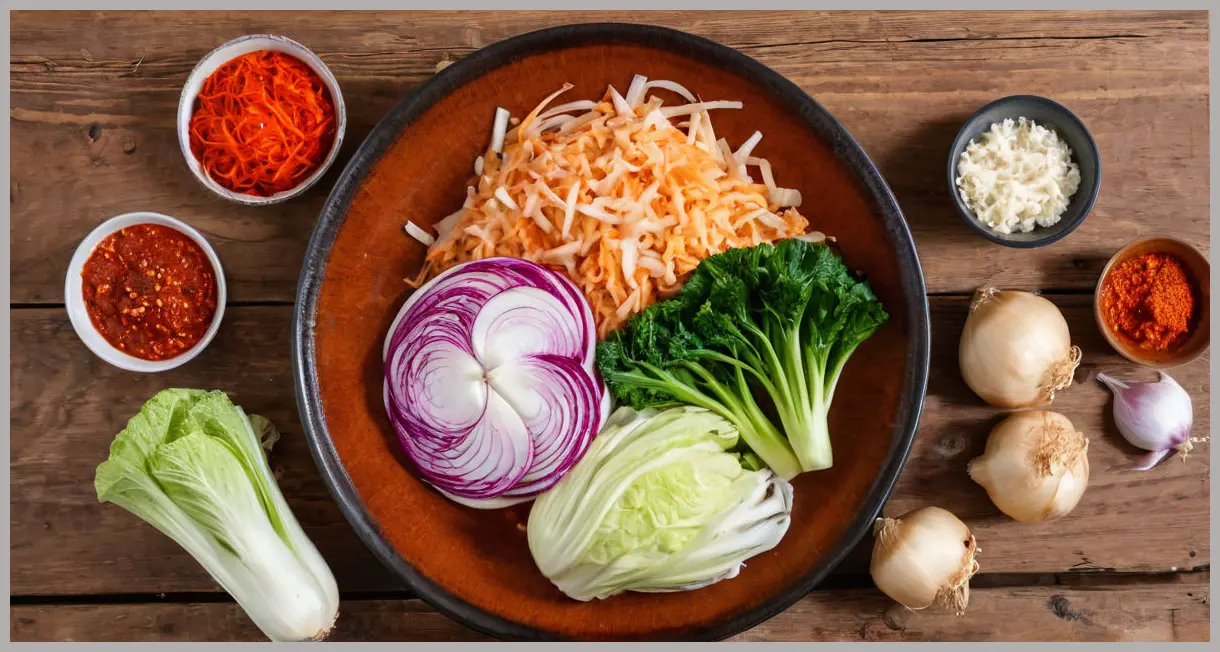
Ingredient Highlight
Below is the complete list of ingredients. Feel free to double‑check each item before you begin; having everything on hand will keep the process smooth and stress‑free.
- 2 Chinese cabbages (about 1.5 L total volume once shredded)
- 65 g sea salt flakes (cracked or fine‑grained)
- 1 daikon/mooli (peeled and sliced into julienne strips – see Know How)
- 3 spring onions (trimmed and cut into 5 cm slices)
- 2.5 cm piece fresh ginger (peeled)
- 8 garlic cloves (peeled)
- 2 shallots (peeled)
- 6 tbsp gochugaru (Korean red pepper flakes – add more for extra heat)
- 2 tbsp red miso paste (Waitrose or online suppliers – see Ching’s tip)
- 2 tsp caster sugar (helps balance acidity)
- 1 tbsp glutinous rice powder (optional; also known as glutinous rice flour – see Know How)
- Sesame seeds (toasted in a dry pan, for garnish – optional)
Pro Tip: If you’re new to fermentation, keep the salt to the lower end of the range (around 50 g) to reduce the initial brine concentration. You can always add more salt later if needed.
Step‑by‑Step Instructions
Below is a numbered list of the method, pulled directly from the original recipe. Follow each step carefully to ensure the best results.
-
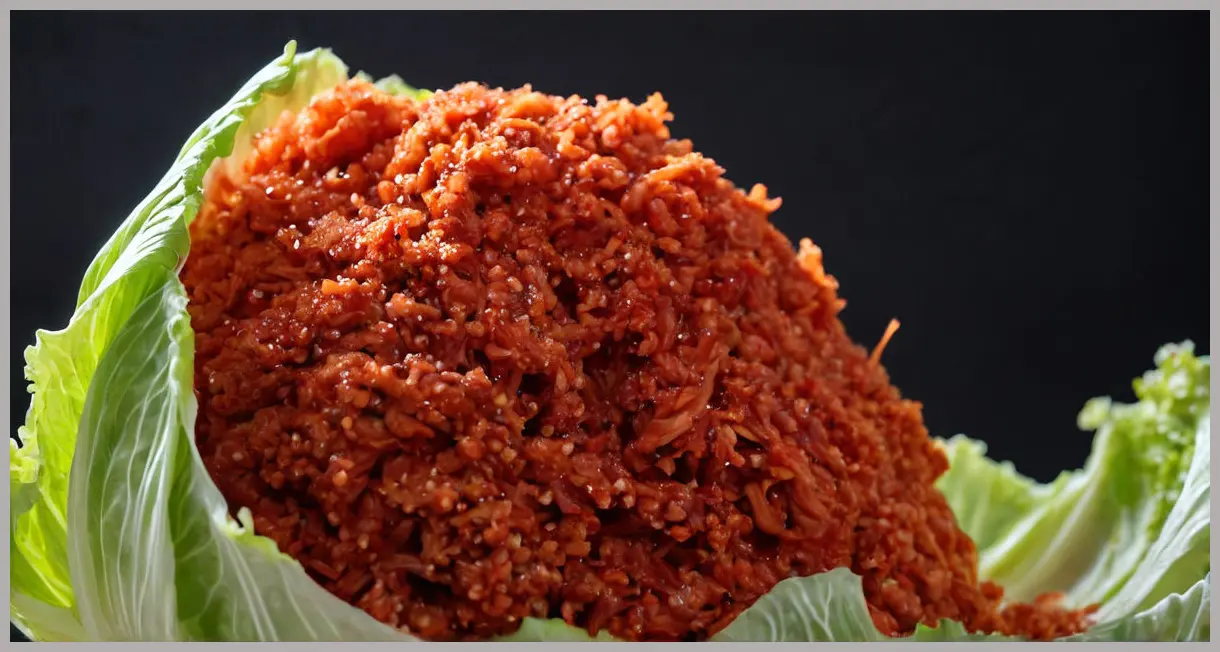
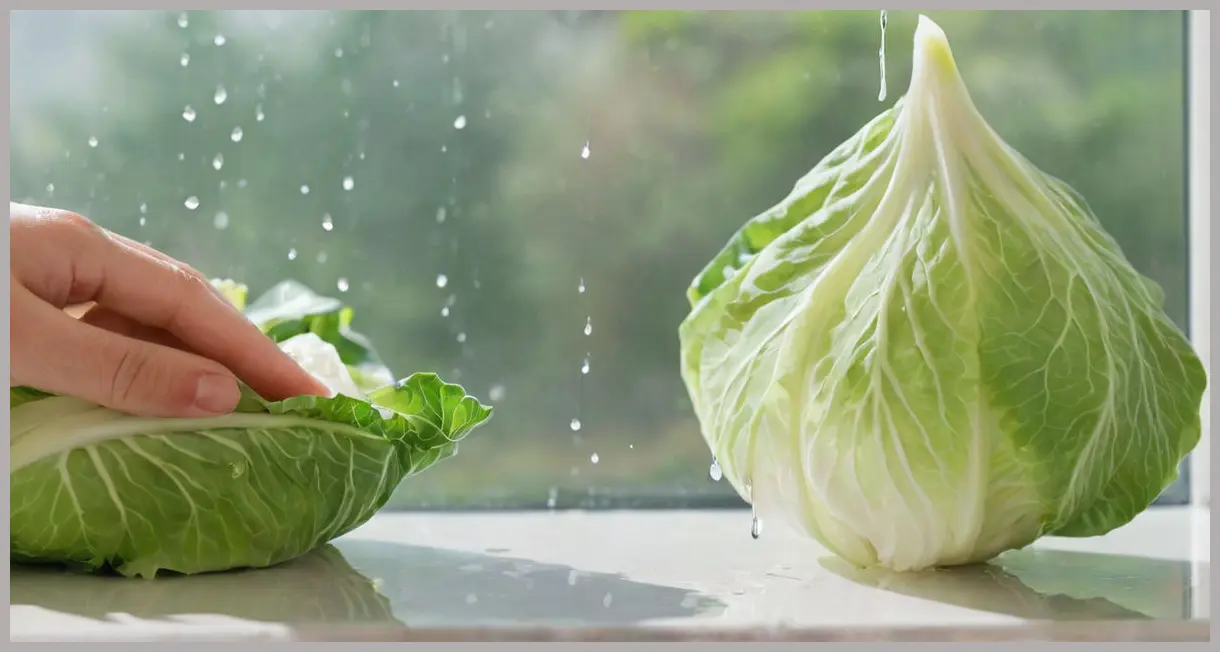
Prepare the Cabbage
Reserve 1–2 outer leaves of the cabbages. Wrap them in damp kitchen paper and place them in the fridge until needed. Shred the remaining cabbage and put it in a large, deep pot or bowl. Add the salt and toss well. Add enough cool water to cover the cabbage and stir until the salt has dissolved. Put a plate on top to keep the cabbage submerged, then leave at room temperature for 6–8 h or overnight (stir halfway through if possible). -
Add the Vegetables and Paste
Drain the cabbage, reserving the brine. Rinse the cabbage, squeeze out any excess water, then return it to the bowl, adding the daikon/mooli and spring onions. Put the ginger, garlic, shallots, gochugaru, red miso paste and sugar in a food processor. Add the rice powder, if using. Pulse until the mixture forms a paste, then spoon the paste over the vegetables. Using tongs or gloves, mix and massage the vegetables and paste together until well coated. Pack the mixture into a sterilised 2‑litre jar, leaving 3–5 cm space at the top (see Ching’s tips for success). Add enough of the reserved brine to just cover the vegetables, pressing them down a bit. Place the whole cabbage leaf or leaves over the top, pressing down – this should help keep the kimchi submerged under the brine (or see Ching’s tips for success). -
Initial Fermentation
Cover loosely (to allow air to escape) and put the jar in a baking dish or large bowl to collect any juices that escape (see Ching’s tips for success). Leave the jar in the kitchen, out of direct sunlight, for 3 days. During this time, you can press down on the kimchi daily with the back of a wooden spoon to keep it all submerged. -
Continue Fermenting
After 3 days the kimchi will be ready, but it won’t achieve its full flavour and complexity for about another 2 weeks, so I suggest you seal the jar and transfer it to the fridge, where the kimchi will continue to slowly ferment (see Ching’s tips for success). -
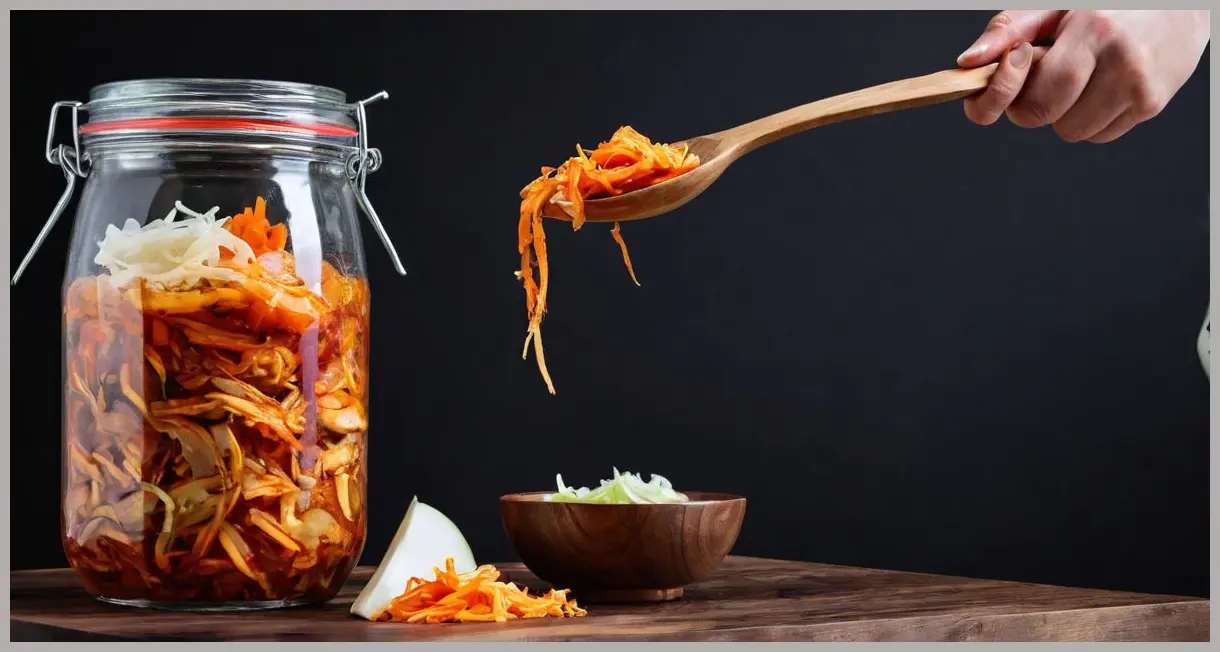
Serve
To serve, scoop out using a slotted spoon, transfer to a side dish and dress with toasted sesame seeds. It’s delicious on top of noodle soups or stews – or added to a stir‑fry. Enjoy!
Serving Suggestions & Variations
Classic Pairings
- Noodle Soups – Add a spoonful of kimchi to a bowl of hot ramen or soba for a spicy kick.
- Stews – Stir in kimchi during the last 10 minutes of cooking a Korean beef stew or a hearty vegetable pot.
- Stir‑Fries – Toss kimchi into a wok with tofu, bell peppers, and a splash of soy sauce for a quick, flavor‑rich meal.
Creative Twists
| Variation | How to Implement |
|---|---|
| Spicy Miso Kimchi | Increase the red miso paste to 3 tbsp and add a drizzle of sriracha for extra heat. |
| Sweet & Sour Kimchi | Add a tablespoon of rice vinegar to the paste before mixing. |
| Herb‑Infused Kimchi | Fold in a handful of chopped fresh cilantro or mint for a fresh aroma. |
| Citrus Kimchi | Add the zest of one lime to the paste for a bright, zesty note. |
Storage & Shelf Life
- Refrigerated – The kimchi will keep for up to 3 months in the fridge, becoming more complex over time.
- Freezing – For long‑term storage, freeze small portions in airtight containers; thaw in the fridge before use.
Conclusion
Vegan Kimchi is more than just a side dish; it’s an invitation to explore the world of fermentation, a celebration of bold flavors, and a testament to the versatility of plant‑based cooking. By swapping out the traditional fish sauce for a savory red miso paste, this recipe stays true to the spirit of Korean cuisine while opening the door for vegans and flexitarians alike.
The process is deliberately simple: 15 minutes of active prep, followed by passive fermentation that turns your kitchen into a mini‑fermentation lab. The result is a jar of tangy, spicy, and umami‑rich kimchi that can elevate any meal—from humble soups to gourmet stir‑fries.
Give it a try, tweak the spice levels, experiment with different vegetables, and most importantly, enjoy the journey. Happy fermenting!

Leave a Reply