
The Dusty Knuckle’s Sourdough Starter
Easy | Makes 1 healthy sourdough starter | Hands‑on time about 20 min, plus 7 days fermenting

Introduction
If you’ve ever dreamed of baking your own bread but felt overwhelmed by the idea of a sourdough starter, you’re not alone. The world of sourdough can seem intimidating: wild yeasts, unpredictable rises, and a whole host of confusing terminology. But the truth is that creating a sourdough starter is one of the simplest, most rewarding culinary experiments you can embark on.
In this post we’ll walk through The Dusty Knuckle’s Sourdough Starter recipe—a stiff, whole‑wheat starter that’s perfect for making the bakery’s signature linseed baguettes. Whether you’re a beginner or an intermediate cook looking to deepen your baking repertoire, this guide will give you everything you need to get a lively, healthy starter up and running in just a week.
Meal Profile
| Attribute | Detail |
|---|---|
| Title | The Dusty Knuckle’s Sourdough Starter |
| Difficulty | Easy |
| Portion | Makes 1 healthy sourdough starter |
| Time | Hands‑on time about 20 min, plus 7 days fermenting |
| Description | Make a healthy and lively sourdough starter from scratch with our step‑by‑step starter recipe from The Dusty Knuckle Bakery. This stiff starter is perfect for making the bakery’s linseed baguettes. |
What makes this starter special?
- Whole‑wheat base – gives it a robust flavor and a natural boost of nutrients.
- Stiff consistency – ideal for baguettes, bagels, and other high‑hydration breads that benefit from a strong, stable culture.
- Simple, repeatable routine – just a handful of ingredients and a clear daily schedule.
Ingredient Highlight
The beauty of a sourdough starter is that it only requires a few humble items. Below is the complete ingredient list for The Dusty Knuckle’s Sourdough Starter:
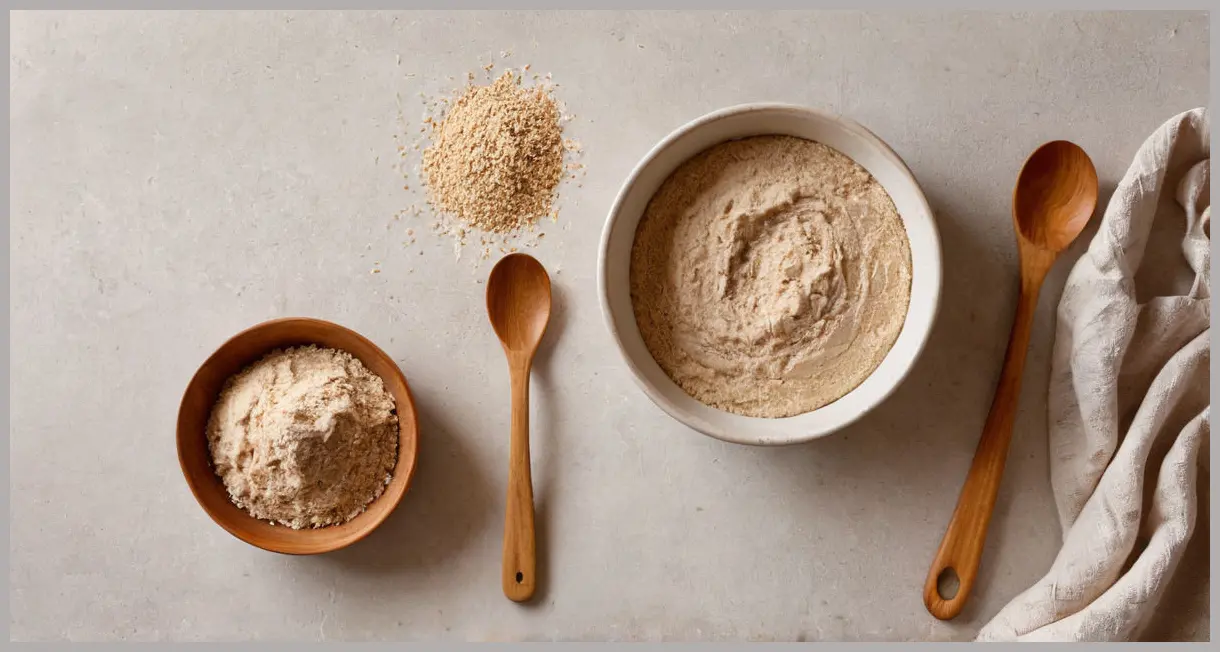
- Wholewheat flour – the primary food source for the wild yeasts and bacteria.
- Water – should be filtered or bottled if your tap water is heavily chlorinated.
- Digital scales – accuracy matters; we’ll be measuring in grams.
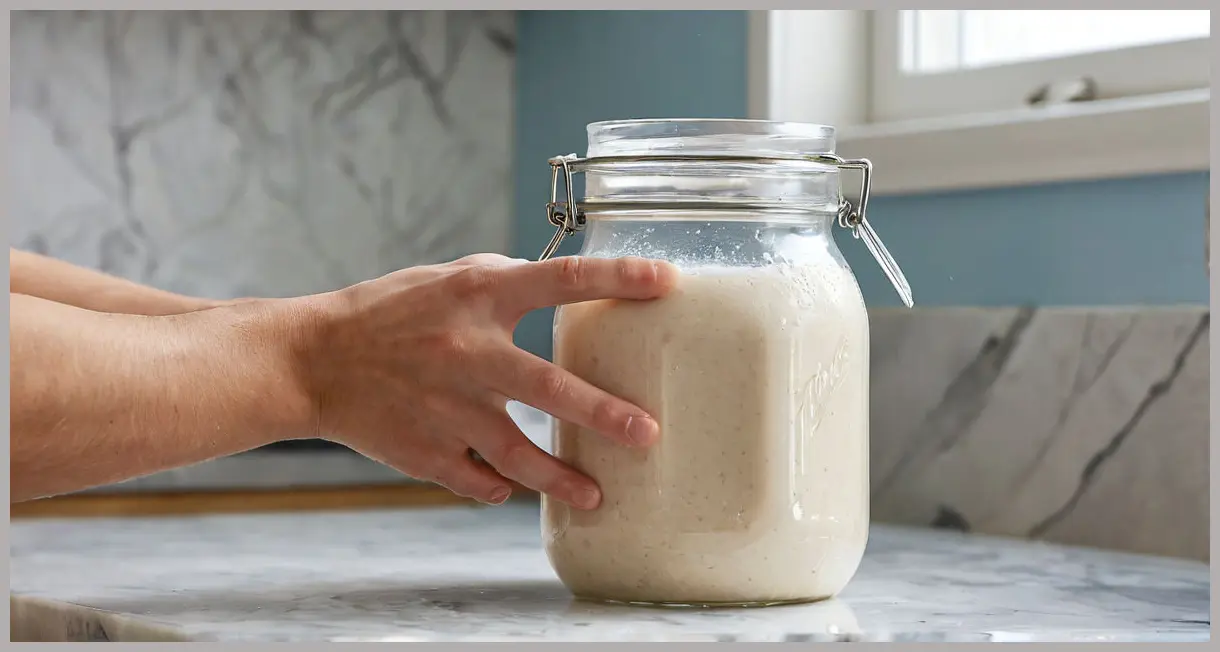
- Jam jar with a loose‑fitting lid – the vessel where the magic happens; avoid airtight seals to allow gas to escape.
Tip: Keep the jar at a consistent room temperature (ideally 68–75 °F / 20–24 °C). If your kitchen is cooler, you can use a warm spot or a low‑heat oven (turned off) to help the starter thrive.
Step‑by‑Step Instructions
Below is a day‑by‑day breakdown of how to build The Dusty Knuckle’s Sourdough Starter. Follow the numbered steps exactly, and you’ll have a vigorous starter ready for baking by the end of week one.
-
DAY 1 – The First Mix
Mix 40 g wholewheat flour and 40 g water in a clean jam jar until there are no dry bits. Stir until the mixture is smooth and uniform. Put the lid on (loose, not airtight). Remember the rules around temperature here, and use the water temperature to counter your room temperature (see Know How). -
DAY 2 – Second Feeding
Repeat DAY 1: add 40 g wholewheat flour and 40 g water to the jar. Stir until fully incorporated, then cover loosely. Let it sit at room temperature. -
DAY 3 – Third Feeding
Repeat DAY 1 once more: add another 40 g wholewheat flour and 40 g water. By the end of DAY 3 you will have 240 g of starter in your jar. -
DAY 4 – First Bubbles and Stiffening
You should start seeing some bubbles appear and there should be a nice yogurty, slightly acidic smell. To make the starter stiff, discard all but 1 tbsp of starter (see Know How). Feed the remaining starter with 200 g strong white bread flour and 150 g water. This may be harder to mix in the jar – you can always scoop it out and mix it by hand in a bowl. -
DAY 5 – Adjusting Consistency
Discard 200 g (leaving you with 150 g) and feed the remaining starter with 180 g strong white bread flour and 120 g water. -
DAY 6 – Rest
Leave alone for DAY 6. The starter should be quiet, but it’s building the microbial community for the next day. -
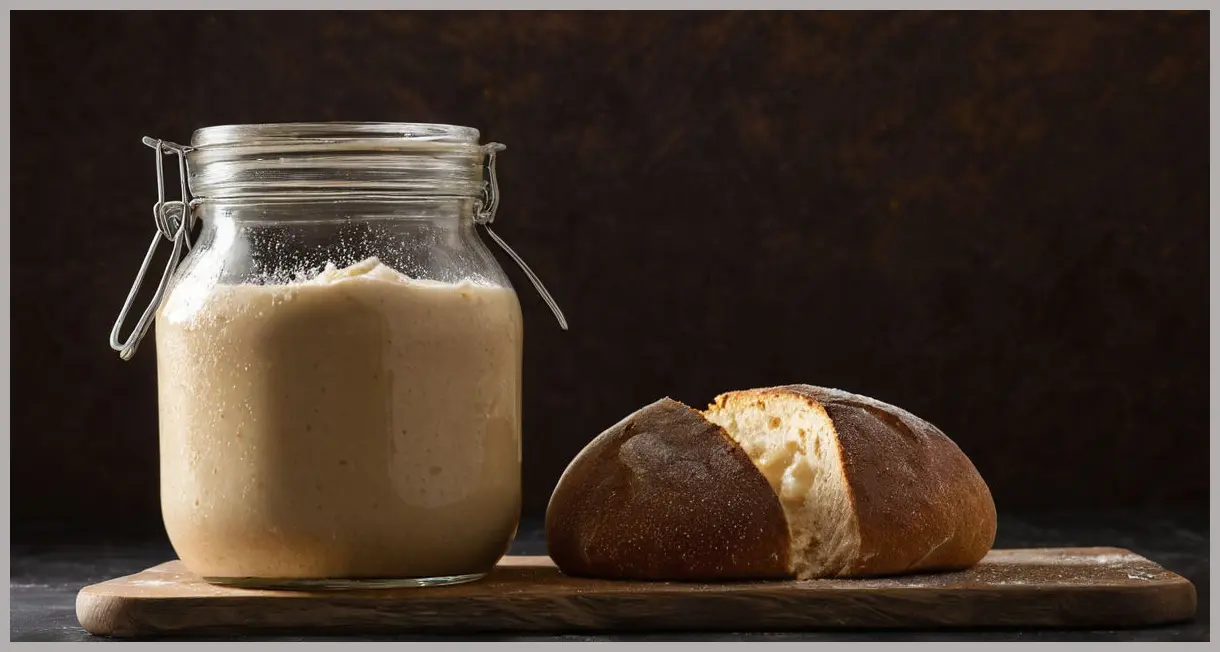
DAY 7 – Ready to Bake
Your starter is now a week old! It should grow in size slowly over the day, and when you come to feed it, it should have grown noticeably in the jar. It should be smelling acidic and delicious. You are now ready to make bread. -
Maintenance Options
- Refrigeration – If you’re not planning to bake regularly, put your starter in the fridge and give it a feed (DAY 5 instructions) once a week. You’ll need to take it out of the fridge 3 days before you want to make bread, feeding it daily to bring it back to life.
- Room temperature – Alternatively, keep the starter out of the fridge, but feed it daily (DAY 5 instructions). You’ll need to bake regularly, every day or whenever you want! If you miss a feed, don’t panic – give it a few days of feeding to get it back to normal.
Serving Suggestions & Variations
A sourdough starter is a versatile tool that can transform a variety of baked goods. Below are a few ideas to help you make the most of The Dusty Knuckle’s Sourdough Starter.
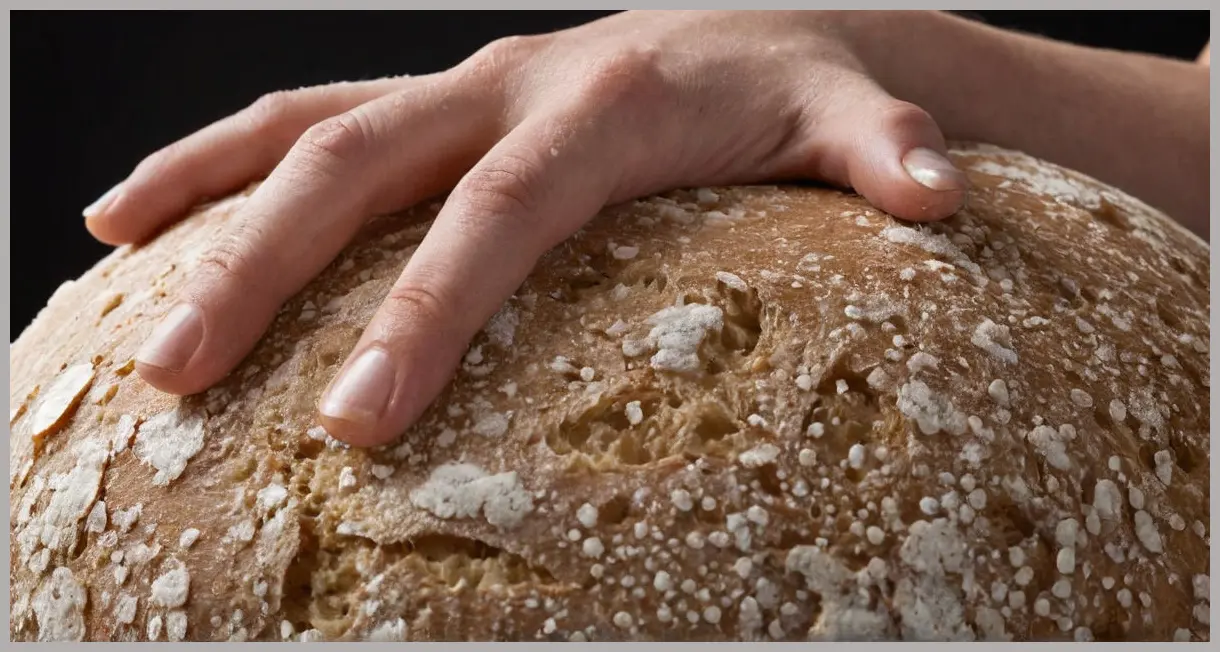
1. Classic Linseed Baguettes
Why it works: The stiff starter provides the perfect rise and chewy crumb for the bakery’s signature linseed baguettes.
How to use: Follow the bakery’s baguette recipe, substituting the starter for commercial yeast. Allow for a longer bulk fermentation to develop flavor.
2. Rustic Sourdough Bread
Why it works: Whole‑wheat flour in the starter adds complexity, and the natural acidity balances the bread’s sweetness.
How to use: Mix the starter with all-purpose flour, water, salt, and a touch of honey. Let it proof overnight for a deeper flavor.
3. Sourdough Pancakes
Why it works: The starter adds a subtle tang and lightness to pancakes.
How to use: Combine the starter with flour, milk, eggs, and a pinch of baking soda. Cook on medium heat until golden brown.
4. Sourdough Pizza Dough
Why it works: A stiff starter gives the dough a firm base and a crispy crust.
How to use: Mix the starter with flour, water, olive oil, and salt. Knead, let rise, then shape into pizza. Bake at high temperature for a crispy finish.
5. Sourdough Crackers
Why it works: The starter adds flavor and a slight chew to simple crackers.
How to use: Mix starter with flour, water, olive oil, herbs, and salt. Roll thin, cut shapes, and bake until crisp.
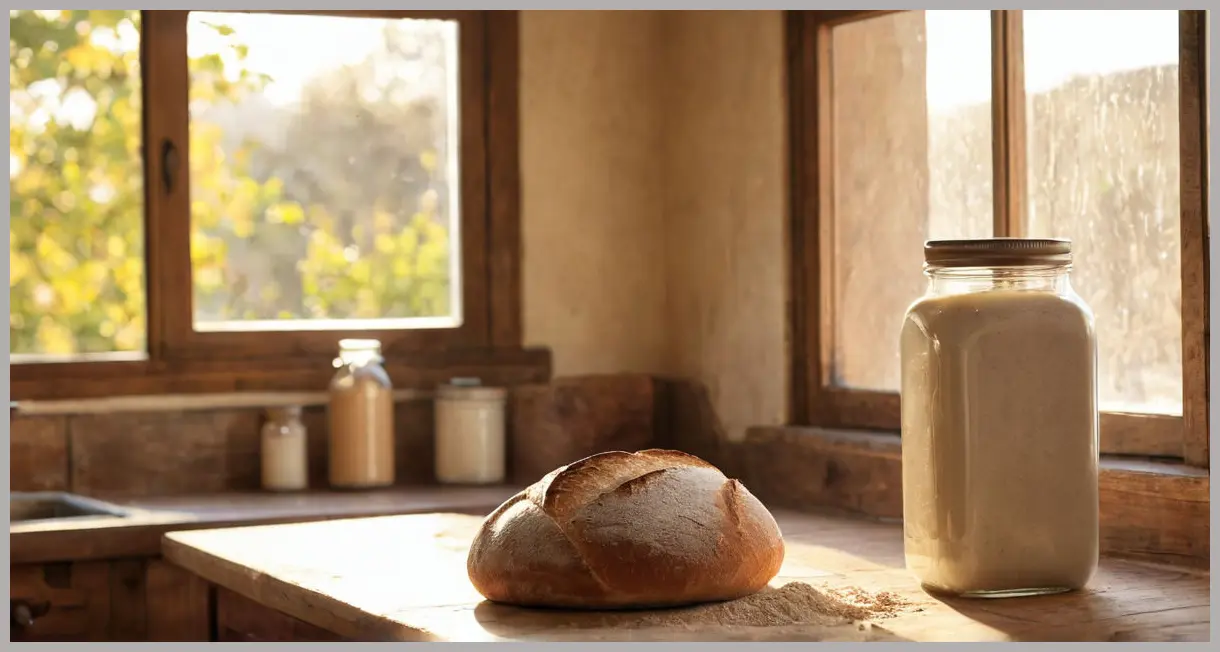
Conclusion
Creating a sourdough starter may seem like a long‑term project, but The Dusty Knuckle’s Sourdough Starter shows that with a clear, easy routine you can have a healthy, lively culture in just seven days. The key is consistency, patience, and a willingness to let nature do its work.
Once you’ve mastered this starter, you’ll find that it opens up a world of possibilities—from baguettes and pancakes to pizza and crackers. The process also gives you a deeper appreciation for the science behind baking, and a tangible connection to the ancient art of sourdough.
So grab your digital scales, a jam jar, and some whole‑wheat flour, and start your sourdough journey today. Happy baking!

Leave a Reply