
Pide Dough: A Beginner‑Friendly Guide to Making Springy Turkish‑Style Flatbreads
Introduction
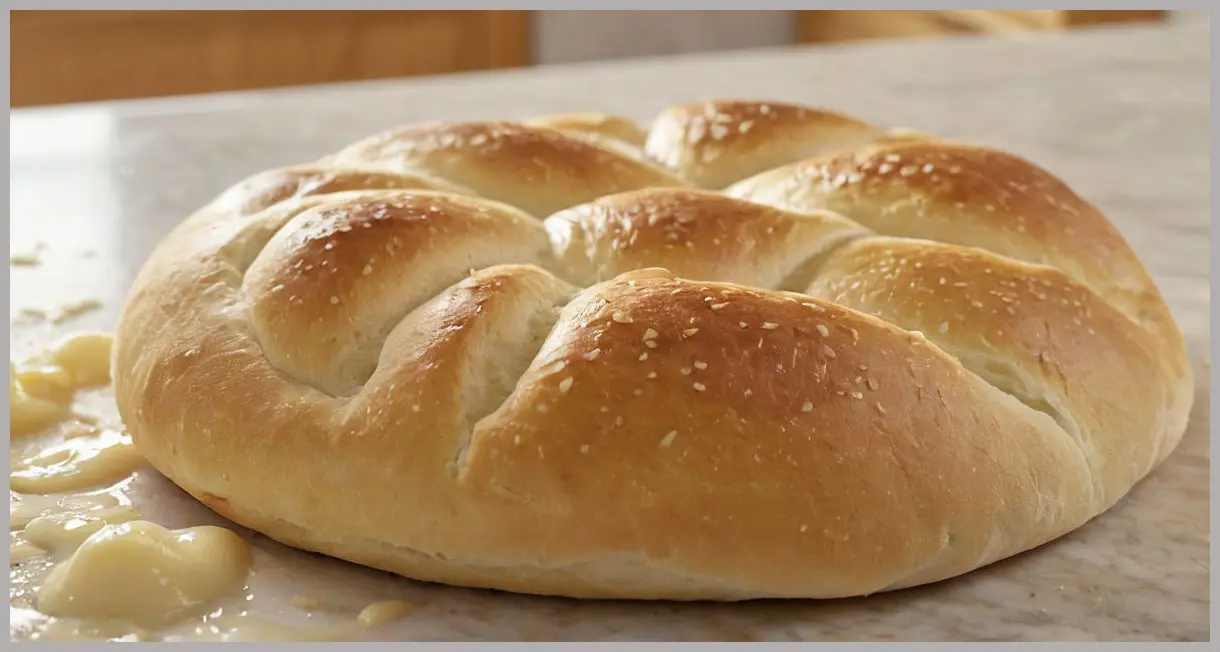
If you’ve ever been tempted by the soft, chewy crust of a Turkish pide or the rustic charm of a homemade flatbread, you’ll know that the secret lies in the dough. Pide dough is deceptively simple yet yields a light, springy base that can be turned into pides, pizzas, or even quick flatbreads. The recipe we’ll walk through comes from Josh Katz and is designed for cooks at the beginner‑to‑intermediate level. With an “Easy” difficulty rating, it’s perfect for anyone who wants to master a versatile dough without the fuss.
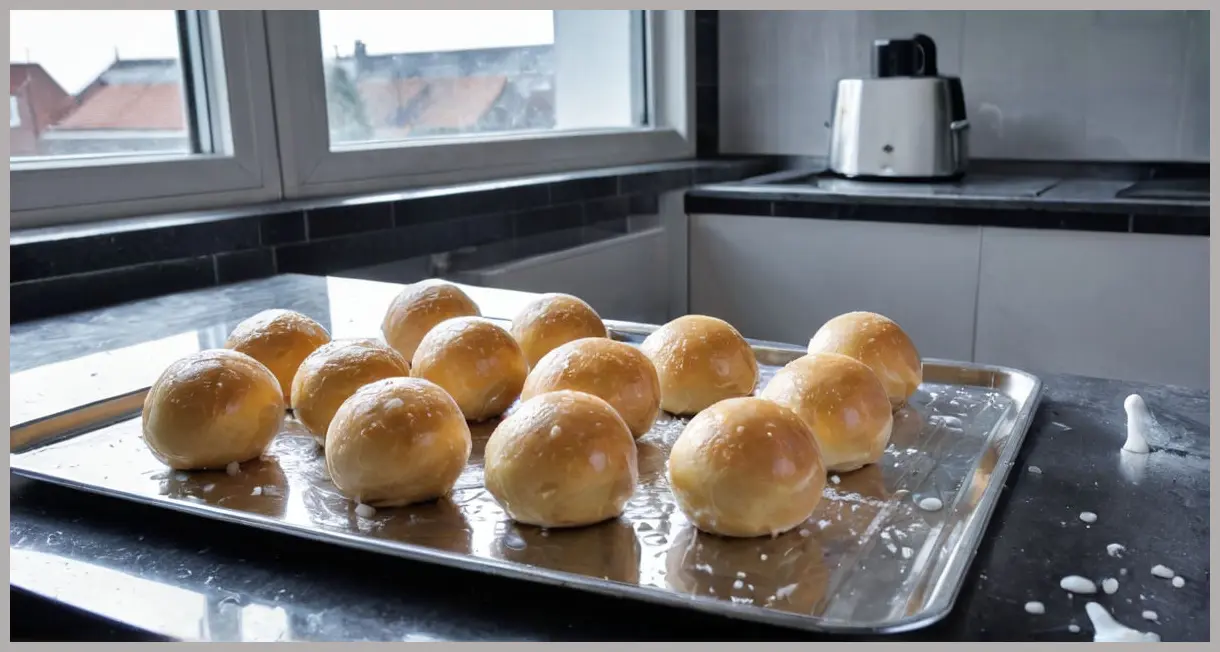
This guide will walk you through every step—from activating the yeast to the final rise—while offering insights into why each ingredient matters, tips for troubleshooting, and creative ideas for serving and variations. By the end of this post, you’ll have a batch of three 150‑gram dough balls ready to be shaped into whatever you crave.
Meal Profile
| Feature | Details |
|---|---|
| Title | Pide Dough |
| Difficulty | Easy |
| Portion | Makes 3 × 150 g dough balls |
| Time | Hands‑on 15 min, plus about 3 hours resting and rising |
| Description | Josh Katz’s pide dough recipe makes three balls of springy dough. Use the dough to make pide (Turkish‑style oval pizzas), pizzas or flatbreads. |
The dough’s structure is built on a blend of strong bread flour and fine “00” flour, which gives it the right balance of chew and tenderness. The yeast is activated in a small warm water bath, while honey adds a subtle sweetness that enhances browning and flavor. Once the dough is mixed, it undergoes two resting phases—first a bulk rise, then a final proof—allowing gluten development and leavening to create a light, airy texture.
Ingredient Highlight
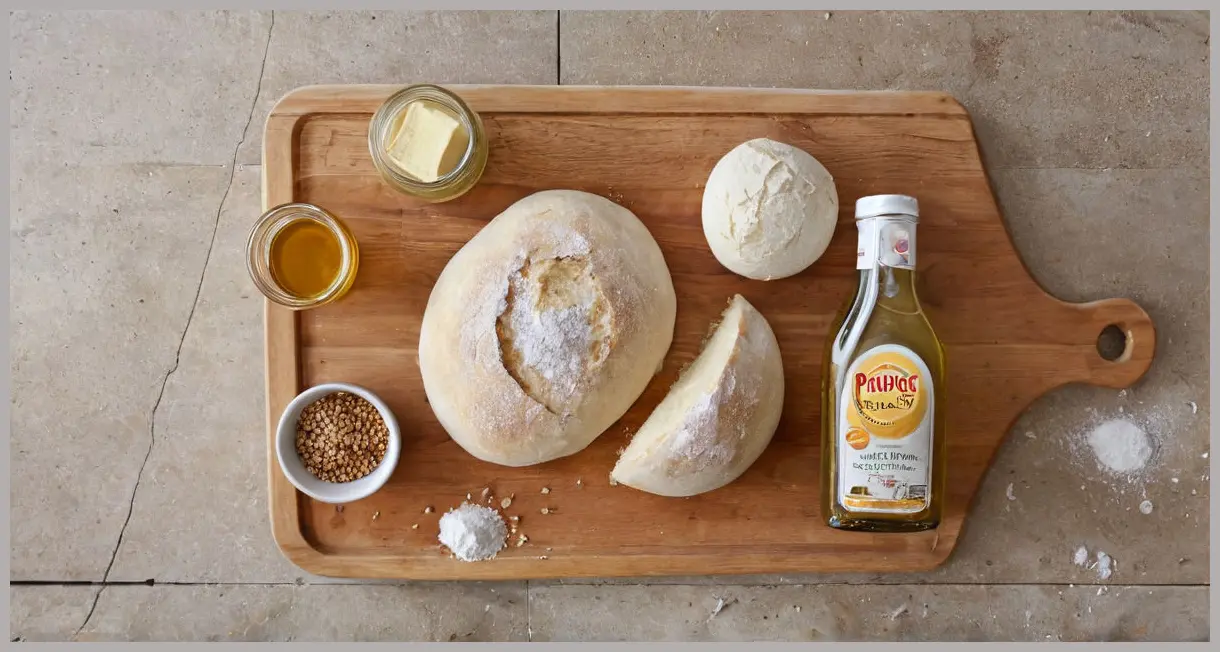
Below is the full ingredient list, followed by a deeper dive into why each component is essential.
Ingredients
- 5 g fresh yeast
- 35 ml warm (26–29 °C) water
- ½ tsp runny honey
- 175 g strong bread flour
- 125 g “00” flour
- 3 g fine salt
- ½ tbsp olive oil, plus extra to grease
- 135 ml ice‑cold water
- Stand mixer with dough hook
1. Fresh Yeast
Fresh yeast is a powerhouse leavening agent that, when properly activated, produces a consistent rise. Unlike active dry yeast, it dissolves quickly and gives the dough a gentle, natural fermentation flavor. The recipe calls for 5 g—roughly one packet—ensuring that the dough rises evenly without becoming overly airy or dense.
2. Warm Water & Honey
Warm water (26–29 °C) activates the yeast, while honey not only sweetens the dough but also acts as a natural preservative, extending shelf life. The honey’s sugars feed the yeast, creating more carbon dioxide and a slightly caramelized crust when baked.
3. Strong Bread Flour & “00” Flour
The blend of 175 g strong bread flour and 125 g “00” flour is crucial. Bread flour has a higher protein content (around 12–13 %) that builds a robust gluten network, giving the dough structure. “00” flour, on the other hand, is finely milled, lower in protein, and lends a silky texture and a tender crumb—perfect for pizza and flatbread crusts.
4. Fine Salt
3 g of salt (about ½ tsp) balances the sweetness, enhances flavor, and tightens the gluten network. Salt also slows yeast activity slightly, giving the dough more control over rise time.
5. Olive Oil
Half a tablespoon of olive oil, plus extra for greasing, adds a subtle fruity note, improves dough extensibility, and keeps the surface from drying out during the long resting periods.
6. Ice‑Cold Water
135 ml of ice‑cold water is added during mixing to help control gluten development. The sudden temperature drop “shock‑s” the dough, making it easier to knead and giving it a slightly denser, more manageable texture that still remains springy after rising.
7. Equipment
A stand mixer with a dough hook is recommended for a hands‑off approach. It ensures even mixing, reduces fatigue, and guarantees proper gluten development. If you don’t have a stand mixer, you can still use a wooden spoon or your hands—just be prepared for a bit more elbow work.
Step‑by‑Step Instructions
Below is a numbered list of the method steps, extracted directly from the recipe’s method array. Follow them closely to achieve the best results.
-
Activate the Yeast
Combine the yeast, warm water, and honey in a bowl and whisk to dissolve the yeast. Set aside for 10 minutes to give the yeast time to activate. The mixture should start to bubble and foam—if it doesn’t, discard the yeast and start again with a different batch. -
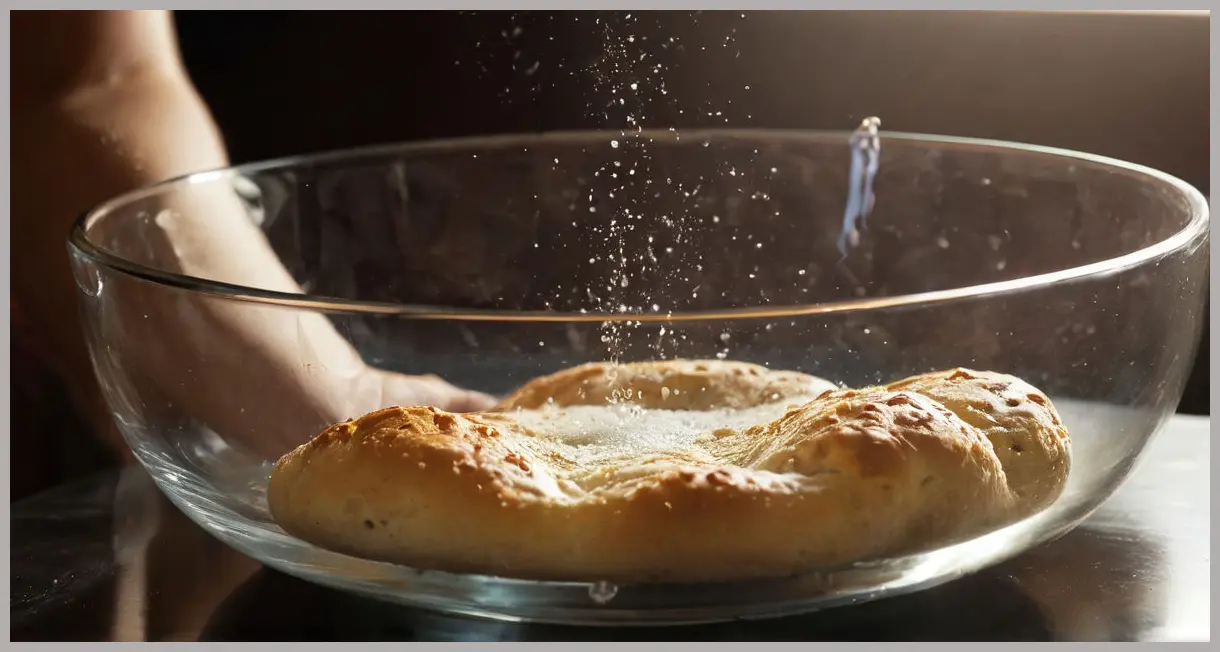
Mix the Dry Ingredients
Put the flours in the bowl of a stand mixer fitted with a dough hook, add the salt, oil, and cold water. Run the mixer on its lowest speed for about 1 minute, then add the yeast mixture and mix for 5–7 minutes until the dough comes together as a smooth mass (it should be soft but not sticky). If the dough feels too sticky, add a little more flour and continue to mix. Transfer the dough to a lightly oiled bowl, cover with a damp cloth and rest for 1–1½ hours or until the dough has roughly doubled in size. -
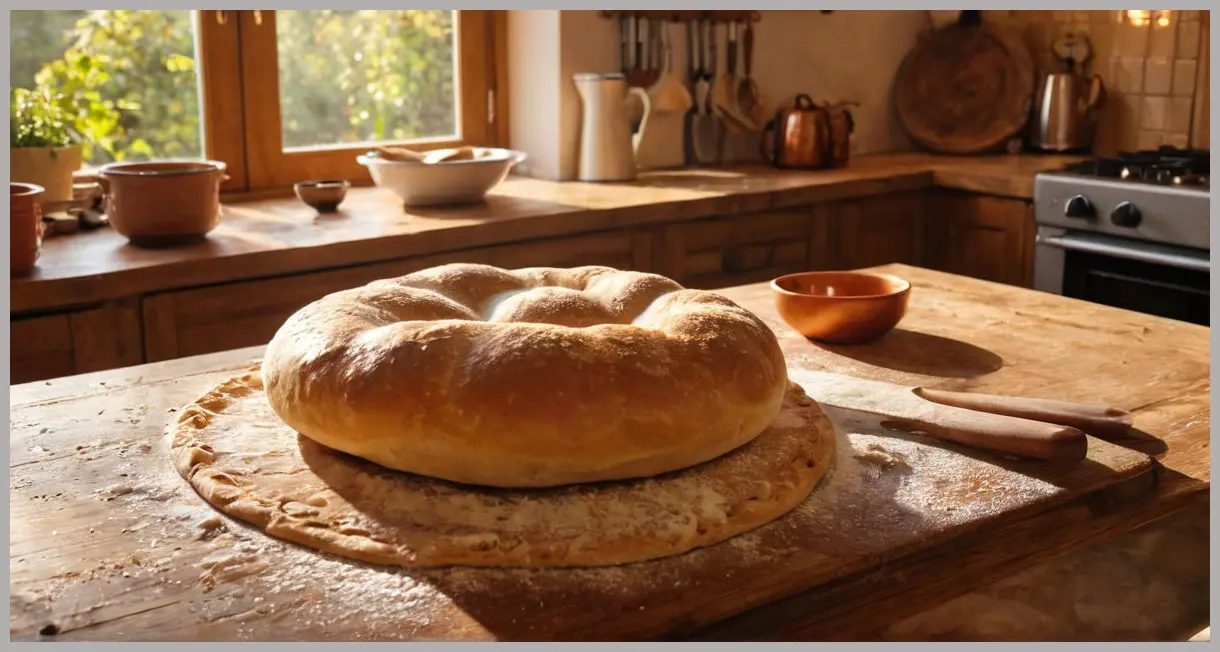
Shape the Dough Balls
Turn out the dough onto a lightly floured work surface and knead for 2–3 minutes, then form into 3 equal balls weighing 150–160 g. Transfer the balls to a lightly oiled tray, arranging them roughly 5–7 cm apart. Double‑wrap loosely with cling film and leave to rise for 1–2 hours, or until the balls have roughly doubled in size (see Make Ahead). The dough is now ready to shape as a base for pides, flatbreads or pizzas.
Quick Tips for Success
- Temperature Matters: Keep the water between 26–29 °C for yeast activation; too hot and you kill the yeast, too cool and it won’t activate.
- Resting Time: Don’t rush the bulk rise. A slower rise develops better flavor and texture. If you’re short on time, you can shorten the final proof, but the dough will be less springy.
- Kneading: The dough should feel smooth and elastic, not tacky. If it’s still sticky, give it a few extra minutes of mixing or add a pinch more flour.
- Storage: If you’re not using the dough immediately, refrigerate the dough balls in a sealed container for up to 24 hours. Bring to room temperature before shaping.
Serving Suggestions & Variations
Now that you have your pide dough, the possibilities are endless. Below are a few ideas for serving, along with variations that let you customize flavor, texture, and presentation.
1. Classic Turkish Pide
- Shape: Stretch each ball into an oval, about 30 cm long.
- Toppings: Sprinkle with coarse sea salt, a drizzle of olive oil, and a handful of fresh herbs (parsley, oregano, or dill).
- Bake: Preheat your oven to 250 °C (482 °F) with a baking stone or steel. Bake for 10–12 minutes until golden and airy.
- Serve: Cut into wedges and enjoy with a side of tzatziki or a fresh tomato‑cucumber salad.
2. Pizza Base
- Shape: Roll each ball into a thin circle (about 12 cm diameter).
- Sauce & Toppings: Use your favorite tomato sauce, mozzarella, pepperoni, veggies, or a simple olive‑oil and garlic rub.
- Bake: 220 °C (428 °F) for 8–10 minutes, or until the edges are crisp and the cheese is bubbly.
- Variation: Add a sprinkle of sesame or poppy seeds before baking for a nutty crunch.
3. Flatbread with Herbs and Cheese
- Shape: Press each ball into a flat, round shape (10 cm).
- Toppings: Drizzle with olive oil, sprinkle with rosemary, thyme, and crumbled feta or goat cheese.
- Bake: 200 °C (392 °F) for 7–9 minutes.
- Serve: Ideal as a side with grilled meats or as a base for a Mediterranean mezze platter.
4. Sweet Flatbread
- Additions: Mix in 2 tbsp of sugar and a pinch of cinnamon into the dry ingredients.
- Toppings: Brush with melted butter, sprinkle with chopped walnuts, and drizzle honey after baking.
- Serve: Warm, with a cup of tea or coffee.
5. Gluten‑Free Option
- Replace the bread and “00” flours with a blend of gluten‑free flours (e.g., rice flour, potato starch, tapioca flour).
- Add 1 tbsp xanthan gum to help with structure.
- Follow the same steps; the dough will be a bit more delicate but still produces a lovely flatbread.
6. Make‑Ahead & Freezer Storage
- After the final proof, place the dough balls on a tray and freeze them. Wrap each in plastic wrap and store in a freezer bag for up to 3 months.
- When ready to use, thaw overnight in the fridge and let them sit at room temperature for 30 minutes before shaping.
7. Creative Toppings
- Mediterranean: Cherry tomatoes, olives, artichoke hearts, and a sprinkle of feta.
- Mexican: Corn, black beans, diced jalapeños, and shredded cheddar.
- Asian: Sliced scallions, sesame seeds, and a drizzle of soy sauce.

Conclusion
Mastering pide dough opens up a world of culinary possibilities. Whether you’re craving a traditional Turkish pide, a quick pizza, or a versatile flatbread, the dough’s springy, chewy texture and subtle flavor will elevate any dish. The recipe’s “Easy” rating belies the depth of flavor it delivers—a testament to the power of quality ingredients and thoughtful technique.
Remember: the key to great dough is patience—allow the yeast time to work its magic, let the gluten develop through gentle kneading, and give the dough ample time to rise. With practice, you’ll find that the process becomes almost second nature, and the results will consistently impress.
Happy baking, and enjoy every bite of your homemade pide dough creations!

Leave a Reply