
Crispy Shallots: A Simple, Flavor‑Boosting Treat for Any Dish
Introduction
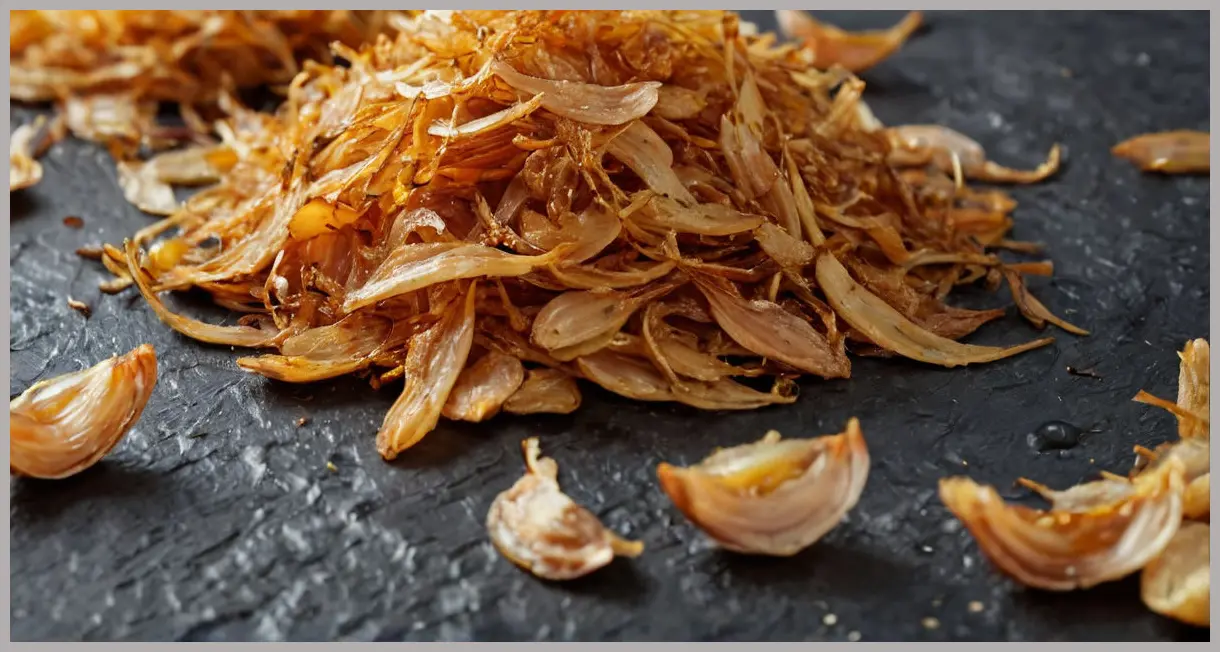
When it comes to elevating the taste, texture, and visual appeal of a meal, few ingredients do it quite like crispy shallots. These golden, crunchy bits of onion‑family goodness add a subtle sweetness and a hint of sharpness that can transform a plain soup, a hearty pasta, or even a quick sandwich into something memorable. Whether you’re a novice looking to add a touch of gourmet flair or an intermediate cook seeking a versatile pantry staple, mastering the art of crispy shallots is a must‑have skill.
In this post we’ll walk you through every step of making the perfect batch of crispy shallots—from selecting the right shallots to frying them to perfection, storing them for later use, and even exploring creative serving ideas. By the end, you’ll have a reliable, easy‑to‑prepare recipe that will become your go‑to flavor enhancer for countless dishes.

Meal Profile
| Feature | Details |
|---|---|
| Title | Crispy Shallots |
| Difficulty | Easy |
| Portion | Serves 4‑6 |
| Hands‑on time | 5 min |
| Frying time | 15‑20 min |
| Total time | 20‑25 min |
| Description | Crispy shallots add colour, crunch, and flavour to all manner of dishes. Sprinkle these golden bits on soups, pasta, hot dogs, or curries. |
The beauty of this recipe lies in its simplicity. With just a few ingredients and a short cooking time, you can create a pantry‑friendly condiment that brightens any meal. The method is straightforward enough that even beginners can follow along without fuss, yet the result is sophisticated enough to impress seasoned cooks.

Ingredient Highlight
What You’ll Need
- 400 ml vegetable oil – The oil’s high smoke point and neutral flavor make it ideal for frying. You can swap in grapeseed, canola, or peanut oil if you prefer.
- 600 g thinly sliced shallots – The key to achieving the perfect crisp is slicing the shallots thinly and uniformly. Fresh, firm shallots work best; older, shriveled ones may produce a mushier result.
Why These Ingredients Matter
- Oil: A good frying oil not only prevents sticking but also helps conduct heat evenly, ensuring that each shallot slice browns uniformly. Reserve the oil after frying; it’s a fantastic base for sautéing vegetables or making quick pan sauces.
- Shallots: Unlike onions, shallots have a milder, sweeter flavor that becomes caramelized and slightly nutty when fried. Thin slicing increases the surface area, allowing the shallots to crisp up faster and more evenly.
Tips for Sourcing
- Look for shallots that are firm, smooth, and free of blemishes. They should feel heavy for their size.
- If you can’t find fresh shallots, frozen thin‑sliced shallots are a convenient alternative. Just be sure to pat them dry before frying to avoid splattering.
Step‑by‑Step Instructions
Below is a concise, numbered list that pulls directly from the method array provided. Follow these steps carefully to achieve the best results.
- Warm 400 ml vegetable oil in a small pan over low‑medium heat until just shimmering. Then add the thinly sliced shallots and fry, stirring often, for 15‑20 minutes until golden. Remove the shallots from the oil using a slotted spoon (reserve the oil for later use) and transfer to a plate lined with kitchen paper.
- Season the shallots with salt and store in a sealed container for up to 5 days.
Expanded Guidance
- Heat Management: Start on low‑medium heat to avoid burning the shallots. Once the oil begins to shimmer, the temperature is just right for gentle frying. If the oil smokes or the shallots brown too quickly, lower the heat slightly.
- Stirring: Frequent stirring prevents clumping and ensures even browning. A wooden spoon or spatula works well for this purpose.
- Oil Recovery: After removing the shallots, let the oil cool before pouring it into a container. This oil can be reused for sautéing vegetables, making a quick pan sauce, or even frying a batch of French fries.
- Seasoning: A light sprinkle of salt brightens the sweetness of the shallots. Feel free to add pepper or a pinch of smoked paprika for an extra flavor dimension.
- Storage: Store the finished shallots in an airtight container at room temperature. They remain crisp for up to five days, making them a handy pantry staple for week‑night meals.

Serving Suggestions & Variations
Crispy shallots are a culinary chameleon. Their sweet‑savory crunch pairs beautifully with a wide range of dishes. Below are several ideas to inspire you, along with a few variations that take the base recipe in new directions.
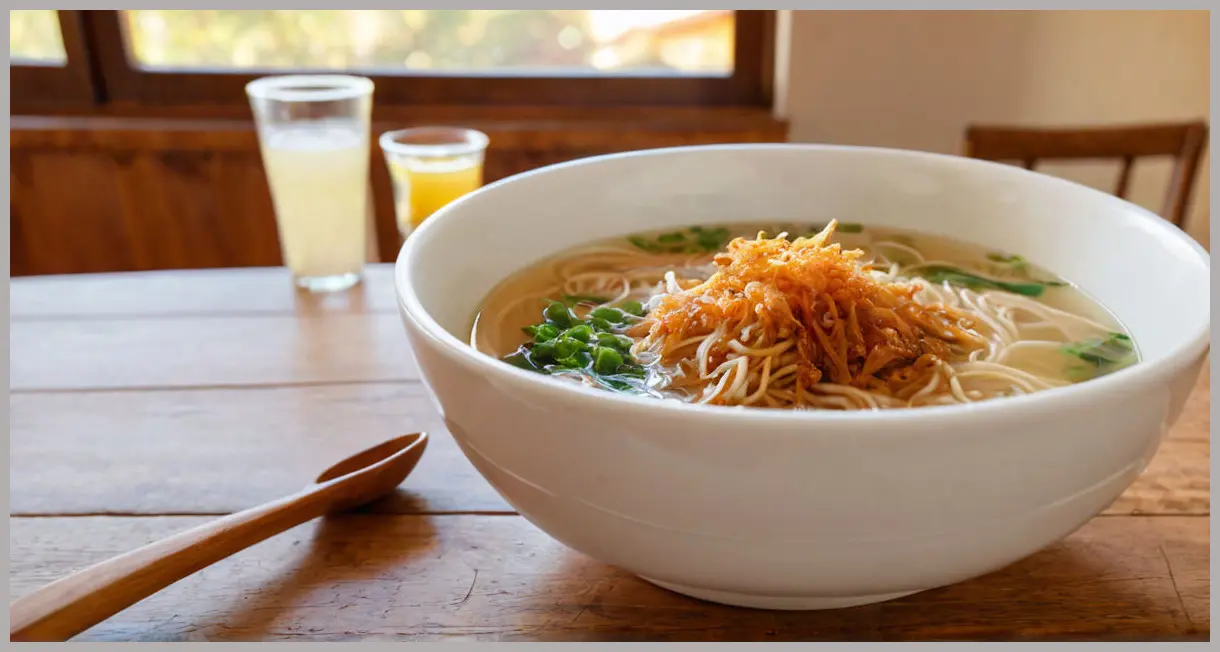
1. Soup Enhancer
- Classic Chicken Noodle Soup: Sprinkle a handful of crispy shallots over the top just before serving. The crunch contrasts nicely with the tender noodles and the savory broth.
- Mushroom Cream Soup: The earthy mushroom flavor is amplified by the sweet, caramelized shallots.
2. Pasta Topping
- Spaghetti Aglio e Olio: Finish the dish with a drizzle of olive oil, a squeeze of lemon, and a scattering of crispy shallots. The texture adds a delightful bite.
- Pesto Pasta: Toss the pasta with basil pesto and top with shallots for a fresh, crunchy contrast.
3. Sandwich & Wrap Add‑on
- Turkey or Chicken Sandwich: Layer the crispy shallots between slices of turkey, cheese, and fresh lettuce. The shallots add a subtle sweetness that balances the savory meats.
- Falafel Wrap: Sprinkle shallots over the falafel for an extra layer of flavor and crunch.
4. Curry & Stir‑Fry Finish
- Thai Red Curry: Add a handful of shallots to the finished curry to give it a sweet, caramelized note.
- Stir‑Fried Vegetables: Toss the veggies with a splash of soy sauce, a dash of sesame oil, and finish with crispy shallots for a crunchy finish.
5. Breakfast Boost
- Omelette or Frittata: Stir in some shallots before folding the eggs. Their sweetness pairs wonderfully with the richness of eggs.
- Avocado Toast: Sprinkle over avocado toast for a crunchy texture and a burst of flavor.
6. Variations
| Variation | Description | Suggested Add‑ons |
|---|---|---|
| Spicy | Add a pinch of cayenne pepper or a splash of sriracha to the oil before frying. | Chili flakes, lime zest |
| Herb‑Infused | Add fresh herbs (parsley, thyme, or rosemary) to the oil while frying. | Lemon zest, garlic |
| Sweet | Drizzle a little maple syrup or honey over the shallots during the last minute of frying. | Cinnamon, nutmeg |
| Savory | Finish with a splash of soy sauce or Worcestershire sauce after frying. | Toasted sesame seeds |
Feel free to experiment by combining these variations to suit your taste preferences or the specific dish you’re preparing.

Conclusion
Crispy shallots are a deceptively simple ingredient that can instantly upgrade the flavor profile and presentation of any meal. With just a few minutes of hands‑on time and a short frying period, you’ll have a batch of golden, crunchy delights that can be stored for days and used in countless dishes—from soups and pastas to sandwiches and curries.
Why this recipe stands out:
- Ease of preparation: Even beginners can follow the straightforward steps without any special equipment.
- Versatility: A single batch can be used across a wide range of cuisines and meal types.
- Flavor depth: The caramelized sweetness of shallots adds a sophisticated touch to everyday dishes.
- Shelf‑stability: Store them in a sealed container for up to five days, making them a convenient pantry staple.
Next time you’re cooking, consider adding a sprinkle of crispy shallots to your dish. You’ll notice an instant lift in both flavor and texture, and your guests will appreciate the thoughtful touch. Happy cooking, and enjoy the delightful crunch!

Leave a Reply