
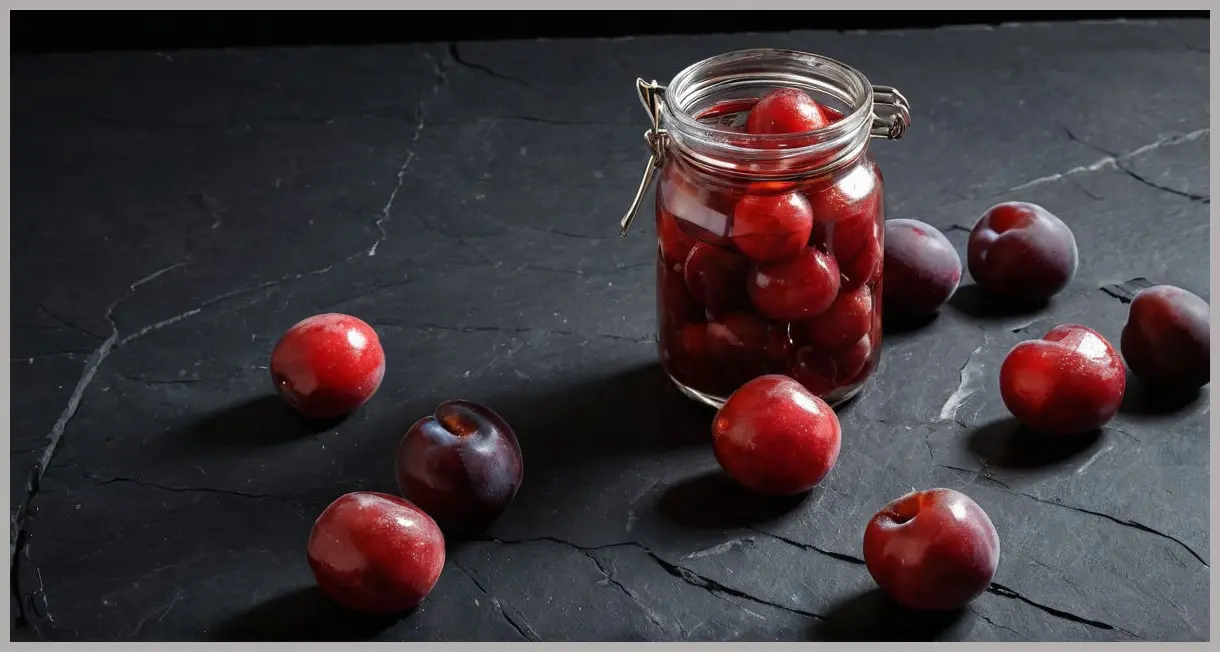
British Plum Umeboshi
A Beginner‑Friendly Pickled Plum Delight
Introduction
If you’ve ever been intrigued by the bright, salty‑sweet tang of Japanese umeboshi but found the specialty fruit hard to locate, this recipe is your passport to a truly authentic experience using everyday British plums. British Plum Umeboshi offers a simple, low‑stress pickling adventure that’s perfect for kitchen novices and seasoned cooks alike. With just a handful of ingredients, a 20‑minute prep time, and a relaxed two‑week fermentation, you’ll end up with a jar of vibrant, briny plums that can elevate salads, toast, sushi, or even a quiet bowl of rice.
The best part? The process is so straightforward that even those who have never opened a jar before can follow along with confidence. Let’s dive into this easy, yet sophisticated, pickled plum journey.
Meal Profile
| Feature | Details |
|---|---|
| Title | British Plum Umeboshi |
| Difficulty | Easy |
| Portion | Makes around 500 g of pickled plums |
| Hands‑on Time | 20 minutes |
| Total Time | 2 weeks (fermentation) + 20 minutes |
| Description | Umeboshi are Japanese pickled ume plums (a type of apricot) that deliver a complex, salty‑sweet‑sour kick. This recipe turns locally‑grown British plums into a quick, approachable version of the classic pickled treat, ideal for introducing yourself to fruit pickling. |
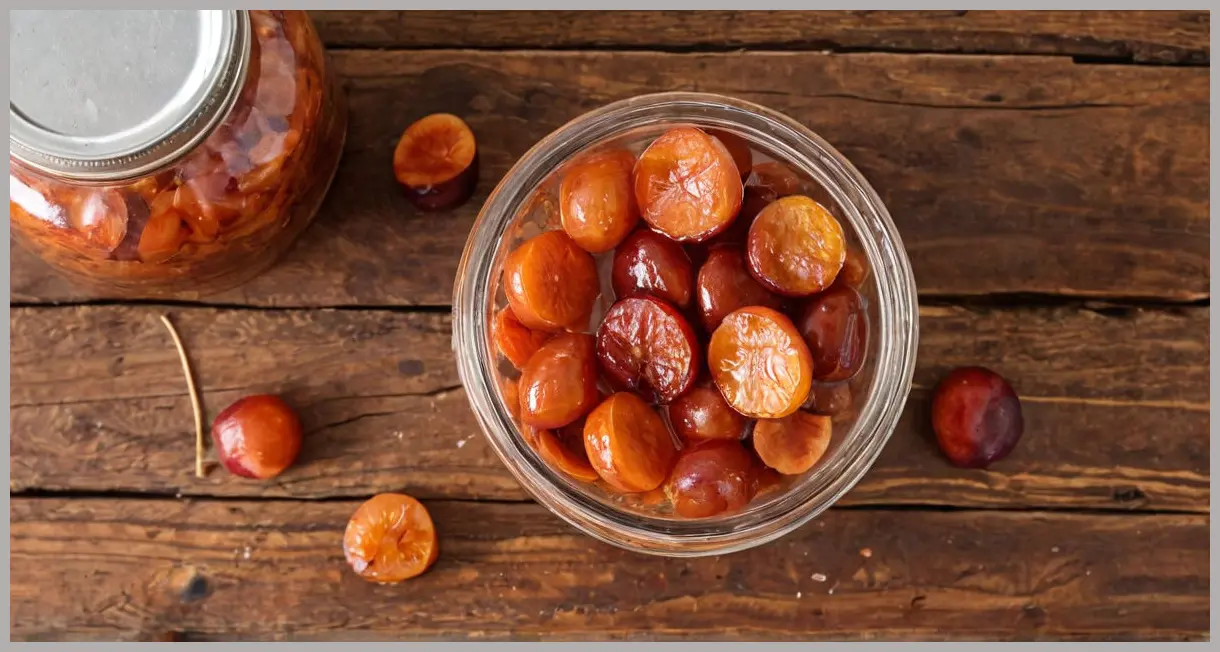
The result is a jar of plums that are bright red, slightly translucent, and packed with a bright, tangy flavor that can be used in a variety of dishes.
Ingredient Highlight
| Ingredient | Quantity | Notes |
|---|---|---|
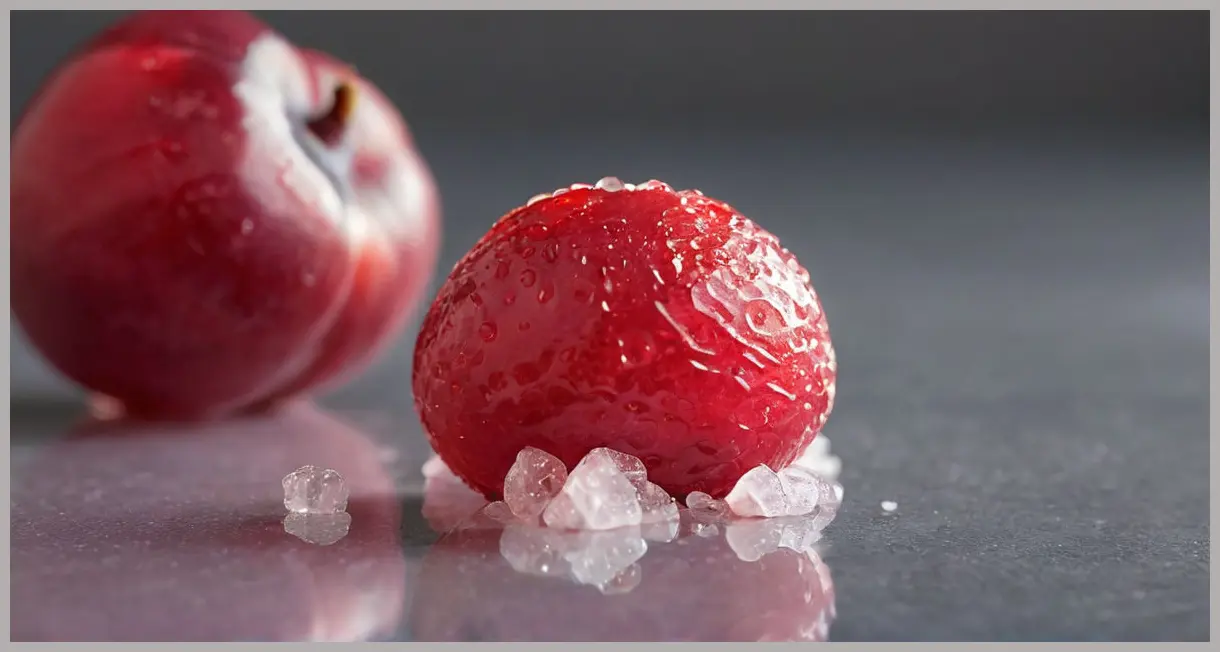
| Small firm plums | 500 g | Choose plums that are firm, free of bruises, and have a deep, even color. |
| Vodka | 150 ml | The alcohol helps to sanitize the fruit surface; you can keep the leftover vodka for other uses. |
| Sea salt flakes | 30–50 g | Salt draws out moisture and creates the brine; the exact amount depends on the weight of your plums. |
| 1 L jar | 1 | A sterilized jar with a tight‑sealing lid is essential for safe fermentation. |
Why These Ingredients Work
- Plums are the star of the show. Their natural sugars and acidity provide a perfect canvas for the salty, sour flavor profile.
- Vodka is a clean, neutral spirit that eliminates surface bacteria without altering the taste of the plums.
- Sea salt flakes not only preserve the fruit but also create the brine that develops the umeboshi flavor over time.
- The jar must be sterilized to prevent unwanted microbes from competing with the beneficial salt bacteria.
Step‑by‑Step Instructions
Below is a numbered list that follows the method exactly as outlined in the recipe data. Each step is designed to be clear and fool‑proof.
- Inspect Your Plums
- Set aside any bruised, split, or withered fruit for another use.
- Remove stalks, rinse the plums in water, and let them dry on a clean towel.
- Sterilize the Jar & Clean Your Workspace
- Boil or run the 1 L jar through a dishwasher cycle to sterilize.
- Place the vodka in a small bowl.
- Ensure your hands, knife, and chopping board are impeccably clean.
- Sanitize the Plums
- Dip each plum into the vodka, then wipe dry with kitchen paper.
- This step removes any lingering bacteria from the fruit’s surface.
- After dipping, set the plums aside; the vodka can be reused for other recipes.
- Halve and Pit the Plums
- Carefully cut the plums in half.
- Remove the stones and discard them.
- Calculate the Salt
- Weigh the plum halves.
- Calculate 10% of the weight in salt (e.g., 400 g halves → 40 g salt).
- This ratio ensures proper fermentation without over‑salting.
- Layer the Plums in the Jar
- Begin with a thin layer of salt at the bottom.
- Add a layer of plum halves, sprinkle with more salt, and repeat until the jar is filled.
- Finish with a final layer of salt on top.
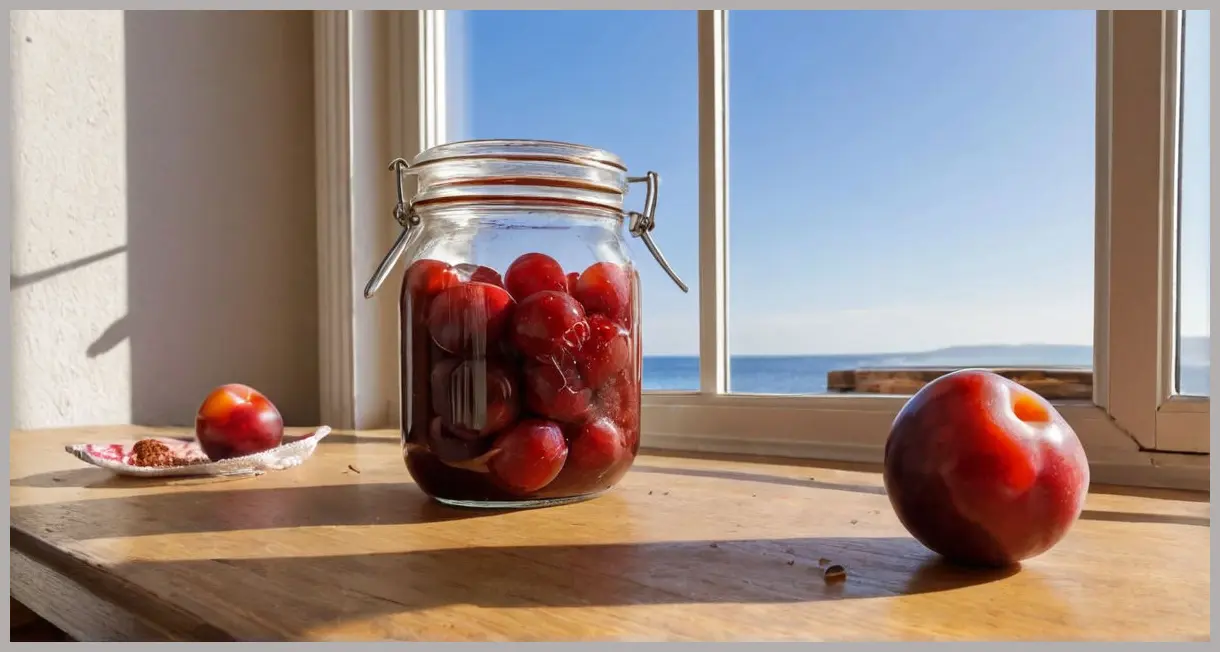
- Seal and Store
- Tight‑seal the jar and place it in a cool, dark spot.
- Every few days, turn the jar upside down and open/close the lid to allow gases to escape and salt to distribute evenly.
- Ferment
- Let the plums ferment for 2 weeks.
- After this period, the plums should be ready to use.
- Refrigerate and Use
- Once opened, store the jar in the fridge.
- Use the pickled plums within 3 months for the best flavor and texture.
Serving Suggestions & Variations
Classic Pairings
| Dish | How to Use |
|---|---|
| Sushi | Slice the pickled plums thinly and place them on top of nigiri for a burst of umami. |
| Salads | Chop the plums into bite‑size pieces and toss with mixed greens, a drizzle of sesame oil, and a sprinkle of toasted sesame seeds. |
| Toast | Spread a thin layer of cream cheese on rye toast, top with a few plums, and finish with a pinch of black pepper. |
| Rice Bowls | Add a spoonful of plums to a bowl of steamed rice, along with avocado, cucumber, and a drizzle of soy sauce. |
Creative Variations
- Add Ginger
- Slice a few thin strips of fresh ginger and layer them with the plums.
- The ginger will infuse a subtle warmth that complements the salty‑sweet profile.
- Use Different Fruit
- Swap plums for apricots or pears for a slightly sweeter, yet still tart, variation.
- Adjust salt proportionally (10% of fruit weight) to maintain the right balance.
- Experiment with Spices
- Add a pinch of red pepper flakes or a whole clove of cinnamon for a spicy or aromatic twist.
- Remember to keep the overall salt ratio consistent.
- Make a Condiment
- Blend the pickled plums with a splash of rice vinegar, a dash of miso paste, and a touch of honey to create a vibrant sauce.
- Use it as a glaze for grilled chicken or as a dipping sauce for dumplings.
Storage Tips
- Long‑Term Storage: Once fermented, you can keep the plums in the refrigerator for up to three months.
- Re‑Fermentation: If you want a more intense flavor, leave the jar in a cool, dark place for an additional week before refrigerating.

Conclusion
British Plum Umeboshi is a testament to how simple ingredients and a little patience can transform ordinary plums into a sophisticated, versatile condiment. Whether you’re looking to spice up a sandwich, add a pop of flavor to a sushi roll, or simply enjoy a tangy snack, this pickled plum recipe delivers.
The beauty of this dish lies in its accessibility: an easy-to‑follow method, minimal equipment, and a hands‑on time of just 20 minutes. The two‑week fermentation period is the only waiting game, and it rewards you with a jar of bright, briny plums that will keep your taste buds delighted for months.
So grab a handful of fresh plums, a 1 L jar, and a splash of vodka, and embark on a pickling adventure that’s as rewarding as it is delicious. Happy fermenting!

Leave a Reply