
Triple‑Chocolate Layer Cake
The ultimate beginner‑friendly indulgence that looks as impressive as it tastes.
Introduction
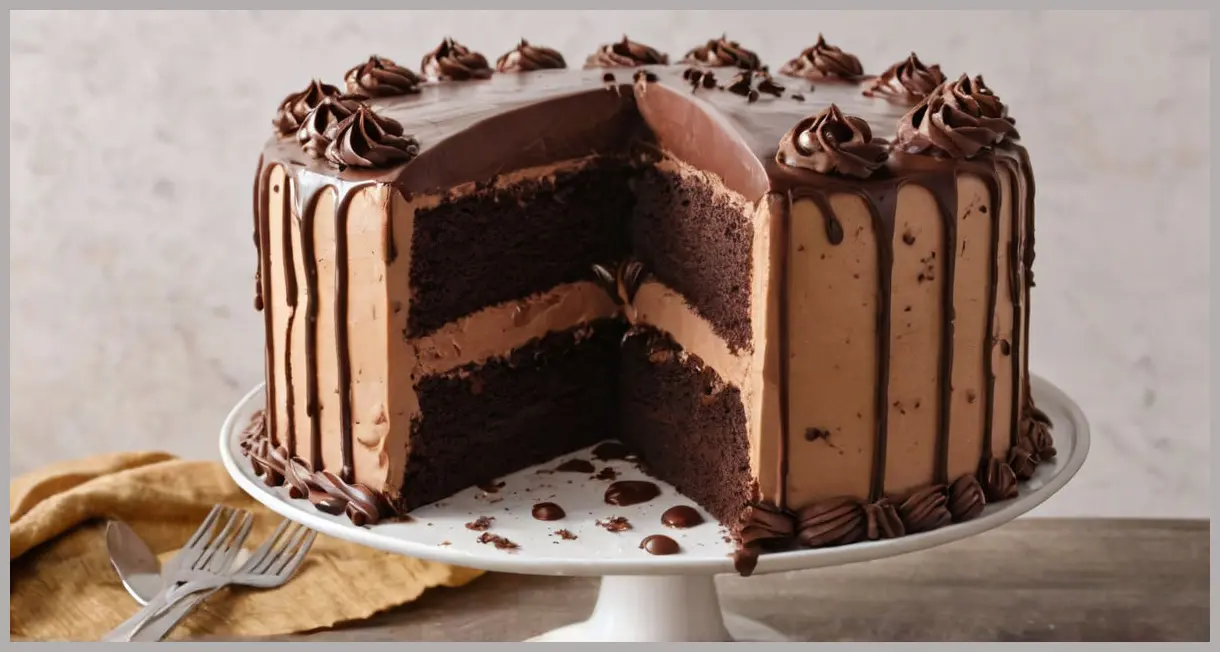
If you’ve ever dreamed of serving a show‑stopping dessert without spending hours in the kitchen, the Triple‑Chocolate Layer Cake is your ticket to chocolate heaven. This cake packs three distinct chocolate experiences— a soured‑cream sponge, a silky chocolate buttercream, and a luxurious unsweetened chocolate mousse icing—into one elegant, tiered masterpiece.
Even if you’re still mastering the basics of baking, the recipe’s Easy difficulty rating and straightforward method make it perfectly suited for beginner‑to‑intermediate cooking enthusiasts. In just a little over an hour of active prep, plus a short cooling and chilling period, you’ll have a cake that serves 24 lucky guests and looks as polished as a patisserie‑level creation.
In this post we’ll walk through the full meal profile, spotlight each ingredient’s role, break down the step‑by‑step instructions (complete with a numbered list extracted directly from the original method), and share serving ideas and creative variations. By the end, you’ll feel confident enough to bake, assemble, and present this decadent dessert at birthdays, celebrations, or any occasion that calls for a chocolate‑filled wow factor.

Meal Profile
| Attribute | Details |
|---|---|
| Title | Triple‑Chocolate Layer Cake |
| Difficulty | Easy |
| Portion | Serves 24 |
| Time | Takes 1 hour to make, 20‑25 minutes to bake, plus cooling and chilling time |
| Description | This chocolate layer cake recipe is made with three layers of chocolate and soured‑cream sponge filled with a fluffy chocolate buttercream and coated in an unsweetened chocolate mousse icing. |
Why This Cake Works for Beginners
- Simple equipment – All you need are three 20 cm sandwich tins, a stand or hand mixer, a food processor (or a sturdy bowl and whisk), and a few basic kitchen tools.
- One‑pan chocolate melt – The chocolate is melted using a classic bain‑marie, eliminating the risk of scorching.
- Layered assembly – The cake builds itself: bake the sponges, prepare three separate components (icing, buttercream, mousse), then stack and frost. No intricate piping required.

Ingredient Highlight
Below is the full ingredient list, followed by a quick “why it matters” note for each group. Understanding the purpose of each component will help you troubleshoot and even experiment with substitutions later on.
Full Ingredient List
- 150 g unsalted butter, softened, plus extra for greasing
- 150 g dark chocolate (Lizzie used Willie’s Cacao Venezuelan 72 %), broken into pieces
- 250 g plain flour
- 2 tsp baking powder
- ½ tsp salt
- 50 g cocoa powder
- 160 g soured cream
- 200 g golden caster sugar
- 150 g soft light brown sugar
- 4 medium free‑range eggs
- 2 gelatine leaves
- 500 g double cream
- 300 g dark chocolate (Lizzie used Willie’s Cacao Madagascan 71 %), broken into pieces
- Hundreds and thousands (sprinkles) and a 30 cm acetate sheet for decoration
- 175 g unsalted butter, softened (for buttercream)
- 300 g icing sugar
- 100 g dark chocolate (Lizzie used Willie’s Cacao Indonesian 69 %), melted as in step 1
Ingredient Insights
| Ingredient | Role & Tips |
|---|---|
| Unsalted butter (softened) | Provides richness and structure in the sponge and buttercream. Soften at room temperature for a smoother creaming process. |
| Dark chocolate (Venezuelan, Madagascan, Indonesian) | Three different chocolates give depth of flavor. The higher cacao percentages (71‑72 %) create a deep, slightly bitter backbone that balances the sweetness of the sugars. |
| Plain flour | Gives the sponge its crumb. Using a low‑protein flour keeps the cake tender. |
| Baking powder | Leavens the sponge, ensuring a light, airy texture. |
| Salt | Enhances the chocolate flavor and balances sweetness. |
| Cocoa powder | Intensifies chocolate flavor without adding extra fat. Whisk with boiling water for a smooth, lump‑free paste. |
| Soured cream | Adds moisture and a subtle tang that cuts through the richness, keeping the sponge moist. |
| Golden caster & light brown sugar | The combination provides sweetness plus a hint of caramel from the brown sugar, contributing to a complex flavor profile. |
| Free‑range eggs | Eggs trap air when beaten, giving the sponge lift. |
| Gelatine leaves | Stabilize the chocolate mousse icing, allowing it to hold its shape after chilling. |
| Double cream | Forms the base of the mousse and provides a silky mouthfeel. |
| Hundreds and thousands | Decorative sprinkles that add a playful pop of color and a slight crunch. |
| Acetate sheet | Used to create a clean, glossy finish on the sides while protecting the bottom third for decoration. |
| Icing sugar | Sweetens and lightens the buttercream, making it fluffy. |
| Melted chocolate (step 1) | Incorporates the chocolate flavor into the buttercream without cooking the butter, preserving a smooth texture. |
Pro tip: If you can’t find the exact cacao origins, any high‑quality dark chocolate (70 %+ cacao) will work. The key is to keep the bitterness consistent across the three chocolate components.

Step‑by‑Step Instructions
Follow these numbered steps precisely for the best results. Each step is taken directly from the original method, preserving the author’s intent while adding a few clarifying notes for novice bakers.
-
Preheat the oven to 180 °C / fan 160 °C / gas mark 4. Grease and line three 20 cm sandwich tins with baking paper. Melt the 150 g dark chocolate in a heatproof bowl set over a pan of simmering water (bain‑marie). Set aside to cool slightly.
-
Sift the flour, baking powder, and salt twice. In another bowl, whisk the 50 g cocoa powder with 250 ml boiling water until smooth, then whisk in the 160 g soured cream. This creates a glossy chocolate‑cream mixture that will keep the sponge moist.
-
Cream the butter and sugars. Using a stand mixer or electric hand mixer in a large bowl, beat the 150 g softened unsalted butter, 200 g golden caster sugar, and 150 g light brown sugar until light and fluffy (about 3–4 minutes). Crack the 4 eggs in one at a time, beating well after each addition.
-
Combine wet and dry components. Beat in the melted chocolate from step 1, then alternately add the soured‑cream cocoa mixture and the sifted flour mixture, a little at a time, mixing just until incorporated. Divide the batter evenly among the three prepared tins. Bake for 20‑25 minutes. After baking, leave the cakes in the tins for 10 minutes, then turn them out onto a wire rack to cool completely.
-
Prepare the chocolate mousse icing. Soak 2 gelatine leaves in cold water for 2 minutes. Heat 250 g of the double cream in a pan until just below boiling, then remove from heat. Squeeze excess water from the gelatine and stir it into the hot cream until fully dissolved. In a food processor, blend 300 g dark chocolate until fine, add the hot cream, and whizz until smooth. Chill the mixture for 30 minutes. Meanwhile, whisk the remaining 250 g double cream to stiff peaks, fold it gently into the chilled chocolate mixture, then cover and chill for 2‑3 hours to set.
-
Make the chocolate buttercream. Beat 175 g softened unsalted butter with 300 g icing sugar using an electric hand mixer until fluffy and pale. Beat in the 100 g melted dark chocolate (from step 1) until fully incorporated, creating a glossy, smooth buttercream.
-
Assemble the cake. Place one cooled sponge on a serving board and spread half of the buttercream evenly over it. Add the second sponge, spread the remaining buttercream, then top with the final sponge. Using a palette knife, coat the entire cake (top and sides) with the chilled chocolate mousse icing. Wrap a 30 cm acetate sheet around the side of the cake, leaving the bottom third exposed. Sprinkle hundreds and thousands over the exposed icing, then gently brush off any excess. Remove the acetate sheet. For an ultra‑smooth finish, dip a spatula in hot water, wipe dry, and glide it over the icing to smooth any imperfections. Let the cake rest for 10 minutes before slicing and serving.

Serving Suggestions & Variations
Classic Presentation
- Slice with a hot, wet knife to achieve clean, glossy cuts.
- Serve each slice with a scoop of vanilla bean ice cream or a dollop of lightly sweetened whipped cream to balance the richness.
- Pair with a glass of full‑bodied red wine (e.g., a Zinfandel) or a cold brew coffee for a sophisticated dessert experience.
Creative Twists
| Variation | How to Adapt |
|---|---|
| Berry Burst | Fold a handful of fresh raspberries or sliced strawberries into the buttercream before spreading. The tartness cuts through the chocolate intensity. |
| Mint‑Infused | Add ½ tsp peppermint extract to the mousse icing, or sprinkle crushed peppermint candies on top of the final layer for a festive twist. |
| Nutty Crunch | Mix ¼ cup toasted hazelnut pieces into the buttercream, or drizzle a thin layer of hazelnut praline over the mousse icing before the final decoration. |
| Gluten‑Free | Substitute the plain flour with an equal weight of gluten‑free all‑purpose flour blend. Ensure the blend contains xanthan gum for structure. |
| Vegan | Replace butter with vegan margarine, use coconut cream for the mousse, and swap gelatine for agar‑agar (follow package instructions). Use a plant‑based dark chocolate and a silken tofu‑based frosting for the buttercream. |
| Mini Cakes | Divide the batter among 12‑cm round cake pans and halve the frosting quantities. These bite‑size versions are perfect for cocktail parties or dessert buffets. |
Storage Tips
- Refrigerate the assembled cake (covered loosely with plastic wrap) for up to 3 days. The mousse icing firms up nicely when chilled.
- For longer storage, freeze each layer separately (wrapped tightly) and the mousse icing in an airtight container. Thaw overnight in the fridge before re‑assembling.

Conclusion
The Triple‑Chocolate Layer Cake proves that a dessert can be both spectacular and approachable. By breaking the process into three manageable components—sponge, buttercream, and mousse icing—you gain confidence in each technique while still ending up with a cake that dazzles the eyes and delights the palate.
Because the recipe leans on fundamental baking methods (creaming butter, whisking eggs, folding in chocolate), it serves as a solid learning platform for anyone looking to sharpen their kitchen skills. And with the optional variations, you can tailor the cake to seasonal flavors, dietary needs, or personal preferences without sacrificing that luxurious triple‑chocolate experience.
So preheat that oven, gather your ingredients, and let the aroma of melting chocolate guide you to a masterpiece that will earn you applause at any gathering. Happy baking!

Leave a Reply