
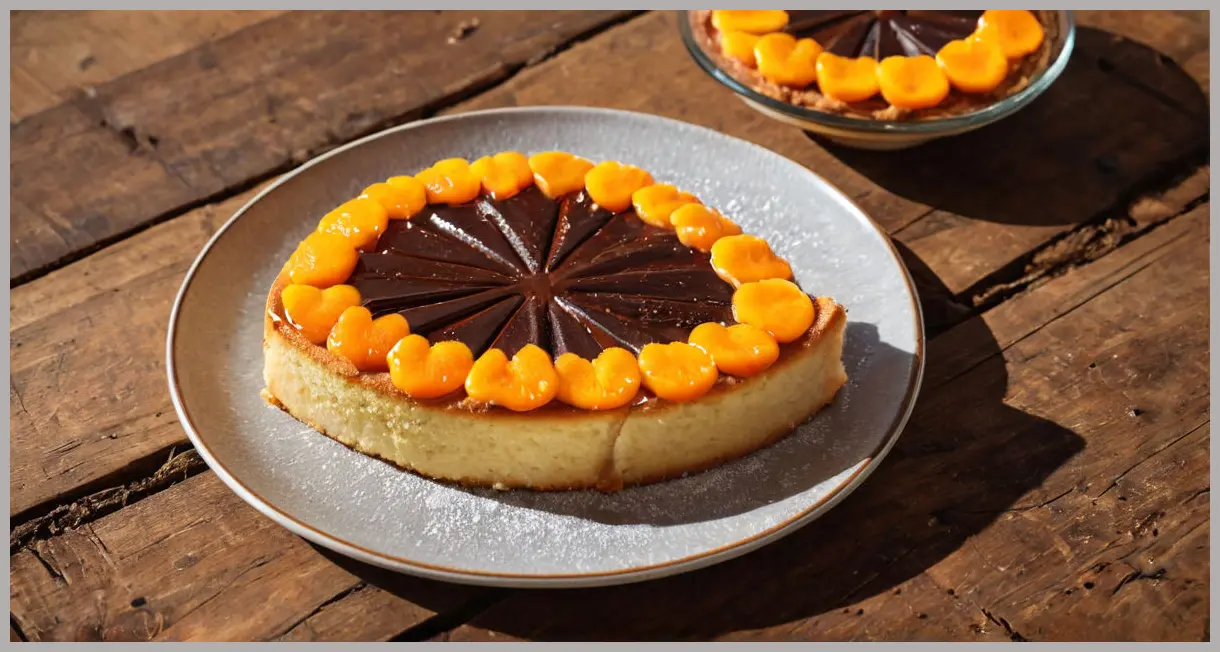
Giant Jaffa Cake
Giant Jaffa Cake is the perfect centerpiece for a relaxed afternoon tea or a lively gathering. Even if you’re still learning the ropes in the kitchen, this recipe strikes a delightful balance between tradition and creativity. It delivers a light, airy sponge crowned with a zesty orange jelly and a glossy chocolate top – all in a single, generous batch that fits an entire 30‑cm shallow pan. Ready to dive in? Let’s explore what makes this treat so unforgettable and walk through every step to make it glow at your table.

Meal Profile
| Feature | Details |
|---|---|
| Difficulty | Medium |
| Servings | Serves 12 |
| Time | Hands‑on time 50 min, oven time 20‑25 min, plus chilling |
| Cuisine | British-inspired, dessert |
| Flavor Profile | Sweet, citrusy, chocolatey |
| Key Ingredients | Orange jelly, sponge batter, dark & milk chocolate |
The Giant Jaffa Cake brings together a classic British confection – the Jaffa cake – in a resplendent, giant format that’s tailor‑made for sharing. Think of the familiar familiar combination of airy sponge, orange jelly, and dark chocolate, but scaled up: a cake that keeps the tradition alive while letting you brag about the cake’s generous size. Whether you’re looking for that crowd‑pleasing dessert or just want to experiment with layering, this recipe offers both elegance and accessibility.
Ingredient Highlight
Below is the ingredient list for the entire cake. We’ve broken it into two major sections – the sponge & jelly foundation, followed by the chocolate coating. The amounts below are rigourously measured; adjust only if you possess a very large or very small pan.
| Category | Ingredient | Quantity |
|---|---|---|
| Sponge & Jelly | Orange jelly cubes | 135 g (one packet) |
| Boiling water | 250 ml | |
| Unsalted butter | 190 g | |
| Castor sugar | 190 g | |
| Eggs, free‑range medium | 3 (beaten) | |
| Self‑raising flour | 190 g | |
| Orange zest, finely grated | ½ orange | |
| Orange juice | 1 Tbsp | |
| Chocolate Coating | Dark chocolate (≥70 % cocoa) | 100 g |
| Milk chocolate | 100 g | |
| Tools & Appliances | 23 cm non‑stick shallow cake tin | – |
| 30 cm (across top) non‑stick frying pan | – | |
| Cling film, baking paper, parchment | – | |
| Heat‑proof bowl, mixing bowls, spatula | – |
Why These Ingredients Work
- Orange Jelly – The raw, approachable fruity sweetness cuts through the sponge’s mildness while adding visual and textural interest.
- Unsalted Butter & Castor Sugar – Together they create a silky batter that is light on the palate and rises beautifully when whisked with eggs.
- Edible Zest & Juice – Fresh citrus imparts aromatic brightness and long–lasting orange flavor that complements the dark chocolate melt.
- Dark & Milk Chocolate – The dual chocolate coating fights the sweet jelly for an indulgent yet balanced finish. Dark chocolate gives depth; milk chocolate adds a velvety finish and an handles‑wide look.
With these ingredients, you’re ready to compose an utterly satisfying spectacle that appeals to both the eye and the taste buds.

Step‑by‑Step Instructions
Below you’ll find a clear, numbered list of all the actions required – from the jar of jelly to the last swirls of chocolate. Keep the food temperature in mind: quick moves in the kitchen will keep the square turns crisp and the fruit section firm.
- Prepare the Jelly Base
- Grease the 23 cm cake tin with butter and line it with cling film.
- Prepare a 30 cm non‑stick frying pan by greasing it and lining the bottom with a circle of non‑stick baking paper.
- Place the orange jelly cubes in a heat‑proof bowl, pour the boiling water over them, and stir until 100 % dissolved.
- Pour this smooth mixture into the lined cake tin, level it with a spatula, and insert it into the fridge for 1‑2 h. This sets the jelly to an even, semi‑jelly stage while you handle the rest of the cake.
- Make the Sponge Batter
- Pre‑heat the oven to 180 °C (160 °C fan), set‑up for 20–25 min of baking.
- In a large bowl, combine butter and caster sugar. Use hand whisks or an electric beaters at “light” speed until the mixture is light, thick, and very fragrant.
- Add the beaten eggs one at a time – whisk well after each addition so that egg fully emulsifies.
- Sift the self‑raising flour directly into the bowl, then fold in the spice (zest + juice) with a metal spoon or spatula. Keep the batter buoyant – a gentle fold preserves air pockets that will lift the cake.
- Bake the Sponge
- Transfer the batter to the lined frying pan with the aid of a spatula. Smoothen the top with a spatula. The batter should be at least 1 cm thick across the pan.
- Place the pan in the oven and bake for 20‑25 min, or until golden brown, the top slightly puffy, and a skewer inserted into the centre comes out clean. Remove and place on a wire rack; allow to cool completely before proceeding.
- While the cake cools, let the pre‑set jelly sit at room temperature – you’ll be sandwiching it onto the firm cake in the next step.
- Create the Chocolate Layer
- Set a heat‑proof bowl over a pan of steaming water (co‑simmer with the water), placing it on a burner. Make sure the bowl does not touch the water.
- Add the dark chocolate into the bowl and let it melt slowly, leaving it untouched until it’s fully liquefied.
- Turn off the heat, let the chocolate stand 15‑20 min at room temperature to cool to a lukewarm consistency; it must still be pourable, but no longer hot.
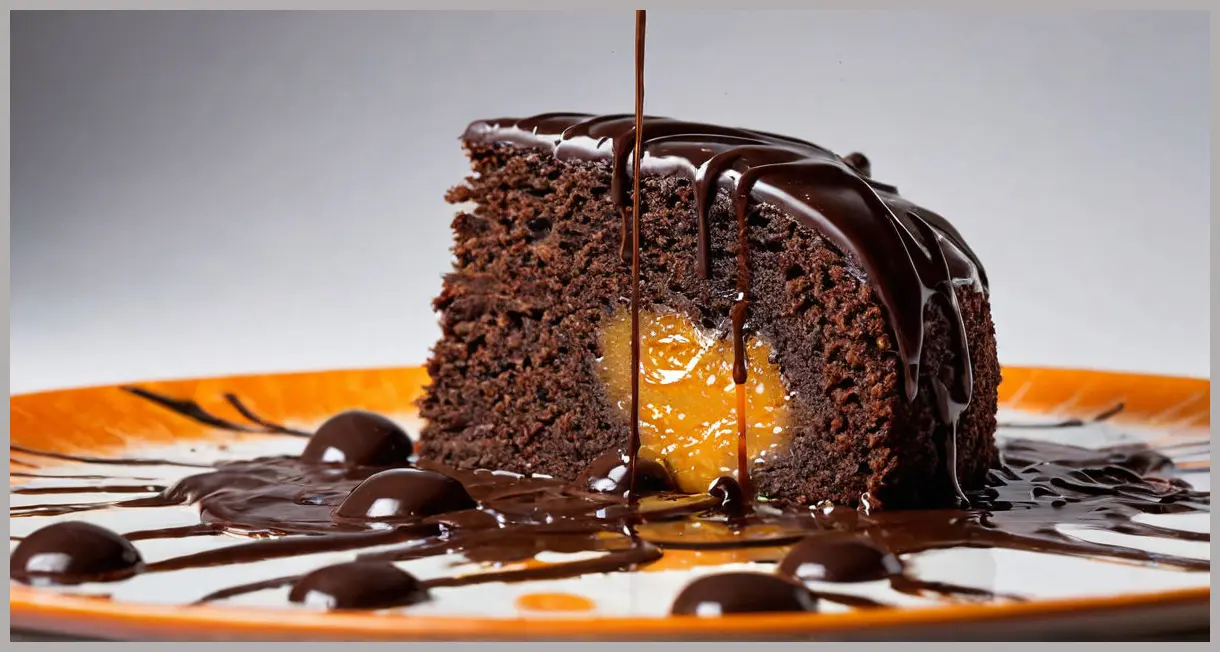
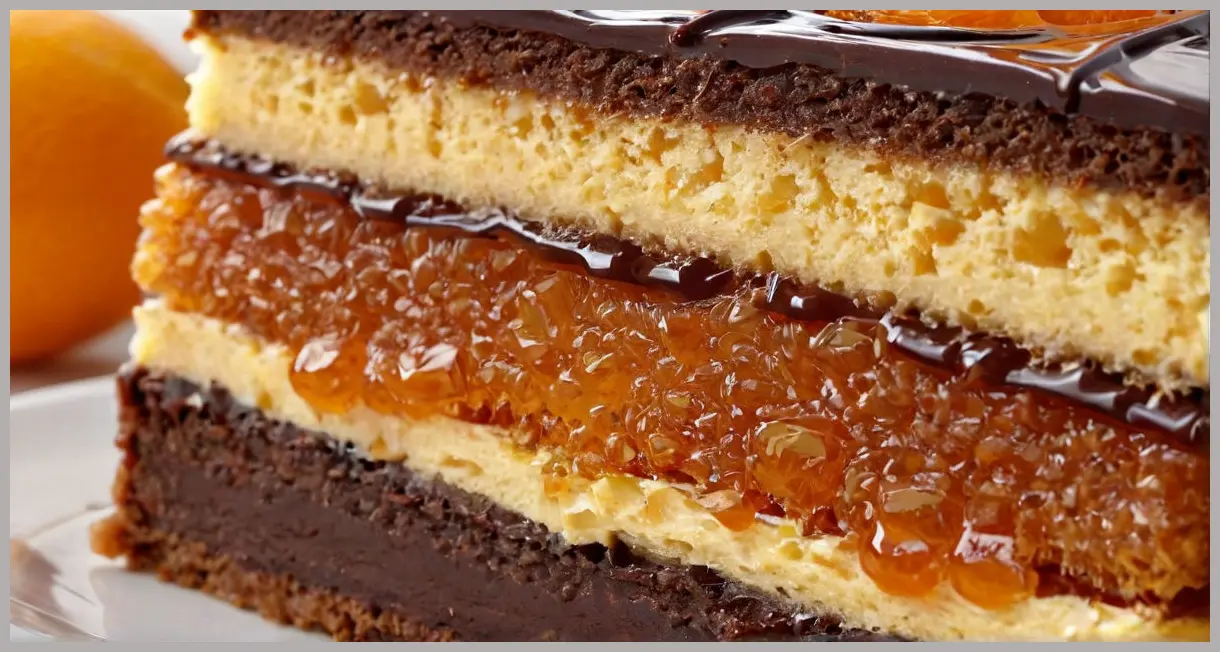
- Finish the Cake
- Lift the jelly slice carefully out of the fridge and gently position it in the centre of the cooled sponge.
- Spoon the lukewarm chocolate over the jelly, spreading it quickly yet delicately so the coating nests around the jelly.
- Immediately chill in the fridge for 15 min – this stops the jelly from melting inside the chocolate.
- When the chocolate begins to thicken, use a palette knife: dip the edge of the knife in the chocolate, lift it straight up, and make groove lines. Do this repeatedly on all four sides – then rotate the cake 90°, repeat to create a cross‑pattern.
- Close the cake with milk chocolate if desired (softer, fluffier). Return the final coating to the fridge for at least 5 h or overnight before slicing.
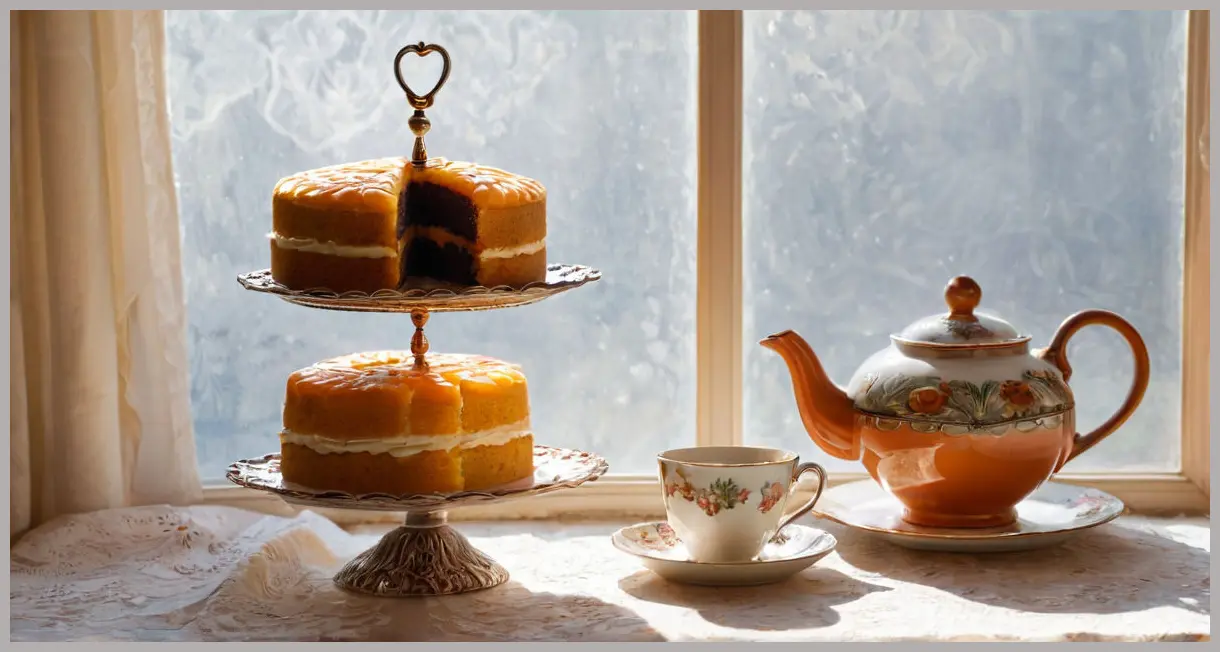
Serving Suggestions & Variations
Classic Presentation
- Slice the Giant Jaffa Cake using a hot knife to keep the chocolate crisp.
- Arrange on a chilled cake stand, garnish with a light dusting of powdered sugar, and add a few thin orange peel twists to reinforce the flavor profile.
- Pair with a black tea, cappuccino, or a light, refreshing rosé.
Sumptuous Add‑Ons
- Orange zest topping – sprinkle fresh zest on top after the chocolate sets to create a more intimate citrus aroma.
- Sea‑salt shards – two or three guaranteed to bring a subtle crunch and satisfy the sweet‑savory craving.
- Mini‑brownies – cut the cake into cubes and serve against mini‑brownies for a trickly bite.
Recipe Variations
- Lighter Sponge – use 3 Tbsp of coconut milk instead of all butter and replace half the self‑raising flour with oat flour.
- Chocolate‑Only Version – Bypass the jelly entirely and use a thin orange‑aroma custard or gelatin layer.
- Kid‑Friendly – Add 30 g of dried cranberries or raisins to the batter or before covering with chocolate for a textured surprise.
The Giant Jaffa Cake encourages creativity: swap out the dark chocolate for a white‑chocolate mousse base or replace jelly with raspberry or lemon “judas” for a more pomegranate twist. Whatever you choose, the technique stays largely the same.
Conclusion
The Giant Jaffa Cake is more than just a dessert. It’s a tactile experience: the crunchy chipped chocolate guarding the silky sponge, the zesty citrus anchor, and its unmistakable rise that exemplifies the art of cake making. Even for those braced on a “medium” difficulty label, this recipe is an excellent learning path:
- You’ll practice measuring, whisking, and thermally balancing layers.
- You’ll see the importance of parchment and cling film in texture isolation.
- You’ll gain confidence in finishing with chocolate and imprisonment of flavors in volume.
When you finally serve this beauty at an afternoon tea or a celebratory gathering, you’ll provide guests with a culinary souvenir that marries the nostalgic charm of an old‑fashioned Jaffa cake to a modern, blossoming twist – all in a giant, shareable format. Bon appétit!

Leave a Reply