
Easy Flourless Chocolate Cake
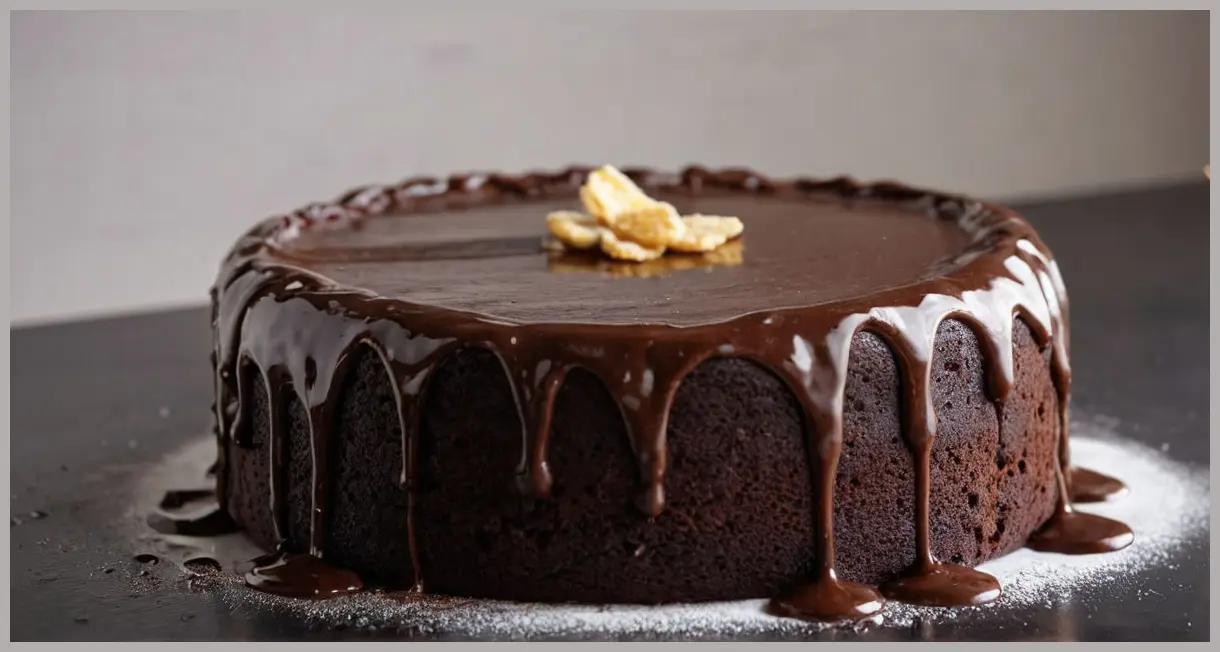
A crisp outside and gloriously fudgy centre make this Easy Flourless Chocolate Cake the best of dinner‑party desserts. You can make it up to two days before, store it in a covered tin, and serve it warm with a scoop of vanilla ice cream – heaven on a plate.
Introduction
There are thousands of chocolate cake recipes out there, but the magic of a flourless version lies in its silky texture and the pure, unadulterated chocolate flavor that never gets lost behind crumbs and fluff. For beginner‑to‑intermediate cooks, the Easy Flourless Chocolate Cake is a no‑fuss, indulgent sweet that will impress guests, even if you’re new to baking.
The best part? It’s completely straightforward: no blind‑folding flour into the bowl, no forgetting a pinch of baking powder, and no multiple pans. The dough is ready for you in about 20 minutes of hands‑on time, and it bakes in just 40 minutes. You may wonder how such a decadent cake stays together without an egg‑sandwiching flour matrix – the answer is all in the clash of chocolate, butter, sugar, eggs, and the technique of folding in whipped whites. It’s a butter‑cream technique that gives the batter the lift it needs while keeping a spectacularly fudgy interior.
Meal Profile
| Attribute | Detail |
|---|---|
| Title | Easy Flourless Chocolate Cake |
| Difficulty | Easy |
| Portions | Serves 10 |
| Time | Hands‑on time 20 min, oven time 40 min, plus cooling |
| Description | A crisp outside and gloriously fudgy centre make this easy flourless chocolate cake the best of dinner‑party desserts. Make it up to two days before then serve warm with ice cream – heaven. |
This brief snapshot captures the essence of the dish in a single glance. It highlights how the cake fits into a dinner‑party setting – you can prep it ahead, and when the moment arrives the oven is just a quick bake away.
Ingredient Highlight
We break down each component of the batter and explain why it plays a crucial role. It’s not just food for the eyes; understanding the science behind each ingredient empowers you to adjust or troubleshoot in future attempts.
| Ingredient | Quantity | Purpose |
|---|---|---|
| Milk chocolate & dark chocolate | 150 g each | The dairy chocolate adds a silky sweetness, while the dark chocolate provides depth of flavor and a slight bitterness that balances the sugar. |
| Unsalted butter | 250 g + extra for greasing | Butter creates the fudgy texture and carries flavor. Butter’s fat content allows a rich mouthfeel. |
| Caster sugar | 200 g | Sugar sweetens the cake and helps stabilize the structure when combined with the eggs. |
| Large free‑range eggs | 4 (separated) | The yolks provide richness and structure, whereas the whites contribute lift and lightness. |
| Vanilla extract | 1 tsp | Enhances and rounds the chocolate flavors. |
| Cream of tartar | ½ tsp | Stabilizes the egg whites, ensuring they hold stiff peaks without over‑whipping. |
| 23 cm springform cake tin | – | The regular shape allows for easy removal. The paper at the base prevents sticking, while greasing the sides ensures the cake slides out cleanly. |
Let’s talk practicalities: unsalted butter makes sure you know the exact amount of salt in the recipe (most people like to control salt on purpose). The 23 cm tin (9 inches) is an “ideal” size for this recipe. Doing a spritz or spray of vegetable oil also works, but we prefer butter for that classic French heat.

Step‑by‑Step Instructions
Below is the recipe in full, presented as a numbered list for easy follow‑through:
-
Heat the oven to 180 °C / 160 °C fan / gas 4.
Gently melt the chocolate and butter in a heavy‑based saucepan, then stir in 100 g of the sugar. Leave to cool slightly, then beat in the egg yolks and vanilla using a wooden spoon. Pour into a large mixing bowl. -
In a large, spotlessly clean bowl whisk the egg whites with an electric mixer until foamy, add the cream of tartar, then whisk until stiff peaks form when the beaters are removed. Whisk in the remaining sugar, 1 tbsp at a time, until thick and glossy.
-
Mix a spoonful of egg white into the chocolate mixture to loosen it, then fold in the remaining whites in 2‑3 additions. Using a large metal spoon and a figure‑of‑eight motion, scrape the sides of the bowl, then fold the mix over on top of itself, giving the bowl a quarter‑turn each time. Scrape the bottom of the bowl too after each turn to incorporate all the mixture.
-
Spoon the batter into the prepared tin, then bake for 40 minutes or until risen and the top starts to crack. Cool the cake in the tin. Serve warm or at room temperature with ice cream.
This concise treat‑the‑method section ensures you can read the entire process quickly. The cooking times are generous: whey the oven time 40 min — just keep a close eye at the end, watch the top crack, but do not over‑bake.

Serving Suggestions & Variations
A perfect dessert deserves a coat of style. Here are a handful of ideas that highlight the cake’s swooping chocolate profile and give you creative flexibility.
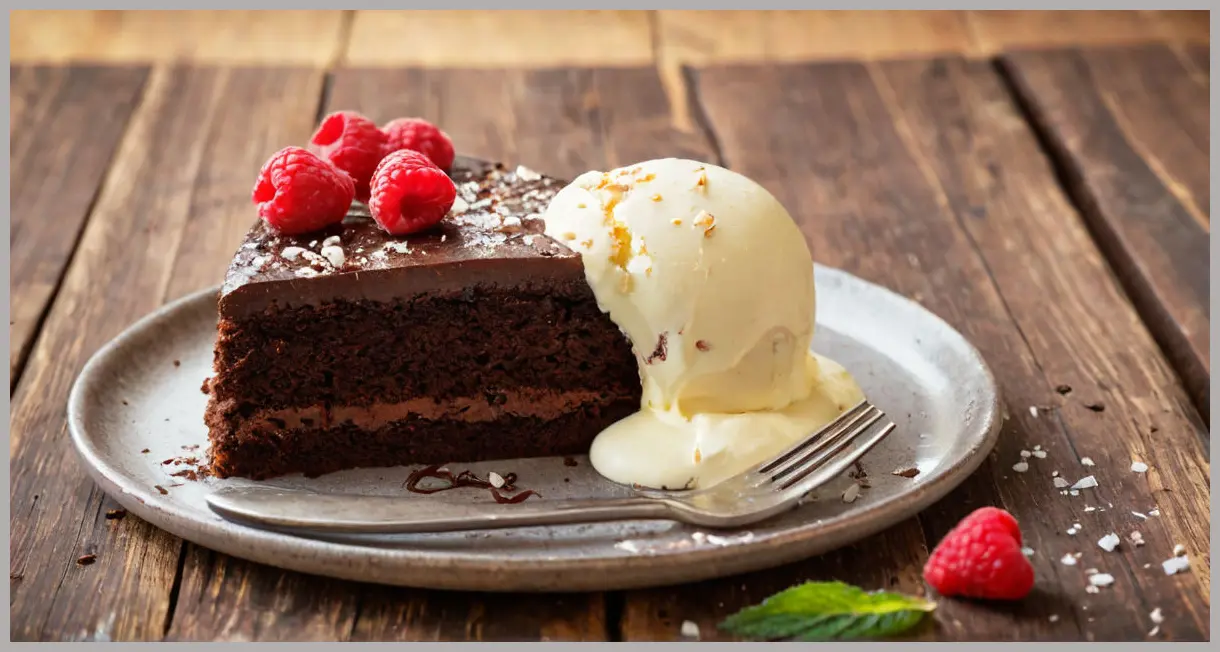
1. Classic Warm With Vanilla Ice Cream
- Serve slices straight out of the tin while it’s still warm. The steam will lightly puff the cake’s surface and the ice cream will melt into that heavenly chocolate core.
2. Berry‑Topped Chocolate Delight
- Top the warm slices with a spoonful of mixed berries (strawberries, raspberries, blueberries). The tartness cuts through the richness while visually brightening each spoonful.
3. Can I make a Frozen Version?
- Slice the cooled cake into thick slabs, freeze them, then grill just before serving. The outer surface will seal and preserve. Serve with a dusting of powdered sugar and a drizzle of dark chocolate sauce for an elevated texture.
4. Add a Crunchy Noodle Element
- Sprinkle finely chopped candied nuts or cacao nibs on the surface before baking. As the cake rises, they’ll crackle enticingly, providing a subtle crunch.
5. Swap the Chocolate
- For a lighter chocolate profile, substitute the milk chocolate with 150 g of white chocolate and keep the dark chocolate. The resulting cake will have a caramel‑y swirl of white chocolate against a richly dark center.
6. Add a Hint of Chili
- Add a pinch of chili powder or a dash of cayenne pepper into the batter. The heat will give the cake a subtle kick, and the pepper’s bitterness amplifies the chocolate’s depth.
7. Gluten‑Free Safe
- Though flourless is inherently gluten‑free, store the burned condensation structure intact by slicing and storing in a freezer. When serving, let it warm slightly for nostalgic softness.
Whatever your preference, just remember the base of the recipe doesn’t change: the batter matters. If you add anything, adjust the heat slightly or the bake time and keep a close eye on the cake’s deflated structure.

A Quick Troubleshooting Guide
| Symptom | Likely Cause | Fix |
|---|---|---|
| Cake cracks too hard? | Too much sugar or over‑whipping whites | Reduce sugar in the whites to 80‑100 g, or fold in the whites loosely. |
| Cake is too dry | Undercooked or hydraulic spread | Bake a minute longer, keep oven door closed, and ensure you’ve not over‑mixed. |
| Cake collapses after baking | Insufficient structure from whites or too much butter on the outer region | Ensure the cocktail is folded gently enough to preserve air; wedging in \”light fold\” is critical. |
| Crumb stuck to the tin | Inadequate greasing | Use a wide brush to coat the sides fully or use parchment paper around sides of the tin. |
If you hit either of the “weird textures” markers, just keep an eye on the top. A slightly cool top means your batter didn’t get enough egg white resume. The second one is the rare collapse phenomenon: to rescue, let it cool overnight in the tin; the cake will firm up.
Conclusion
The Easy Flourless Chocolate Cake demonstrates how limiting ingredients can unlock extraordinary depth of flavor. A melting birthday, a cozy dinner party, or a last‑minute dessert craving — the recipe scales well and the result is uniformly sumptuous. The process is simple: melt, whisk, fold, bake. Each step builds upon the last, producing an edible masterpiece that tastes like bit of chocolate heaven in every bite.
By reading this blog post you now have a clear road map. Grab your 23 cm tin, preheat your oven, and prepare to be astonished at the simple, unforgettable cake that can be made easily and served in style.
Happy baking!

Leave a Reply