
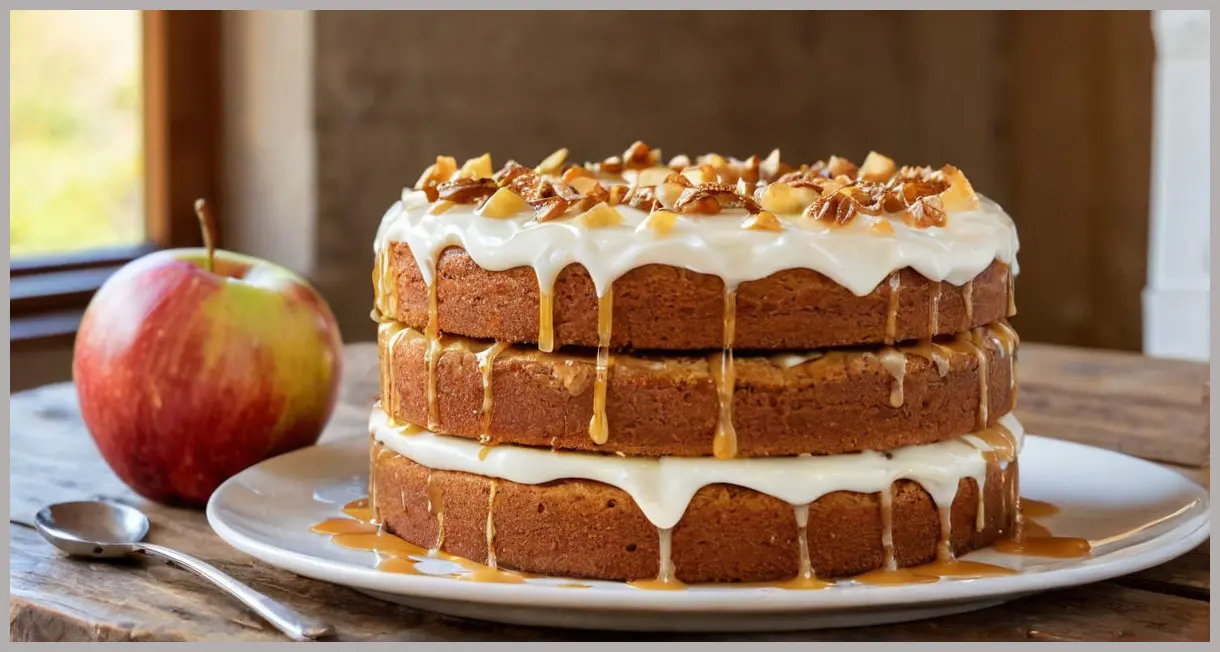
Apple Caramel Layer Cake: A Beginner‑Friendly Celebration Treat
Difficulty: Easy | Portion: Serves 12‑16 | Time: 45 minutes prep + 1 hour cooking
Introduction
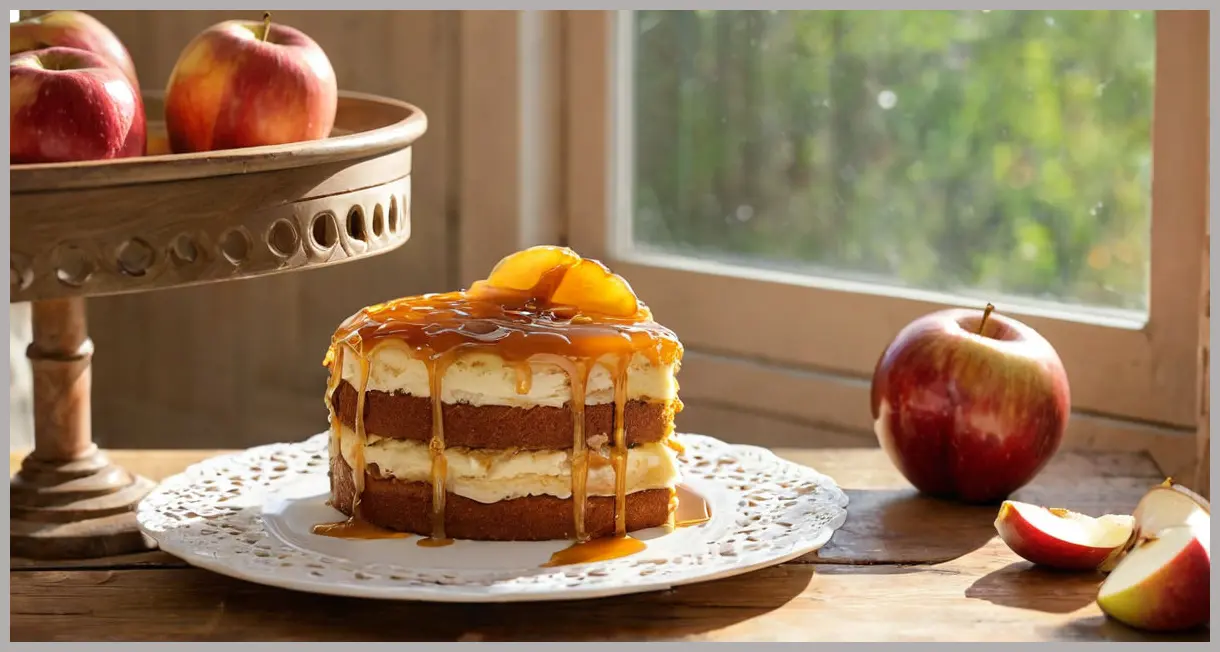
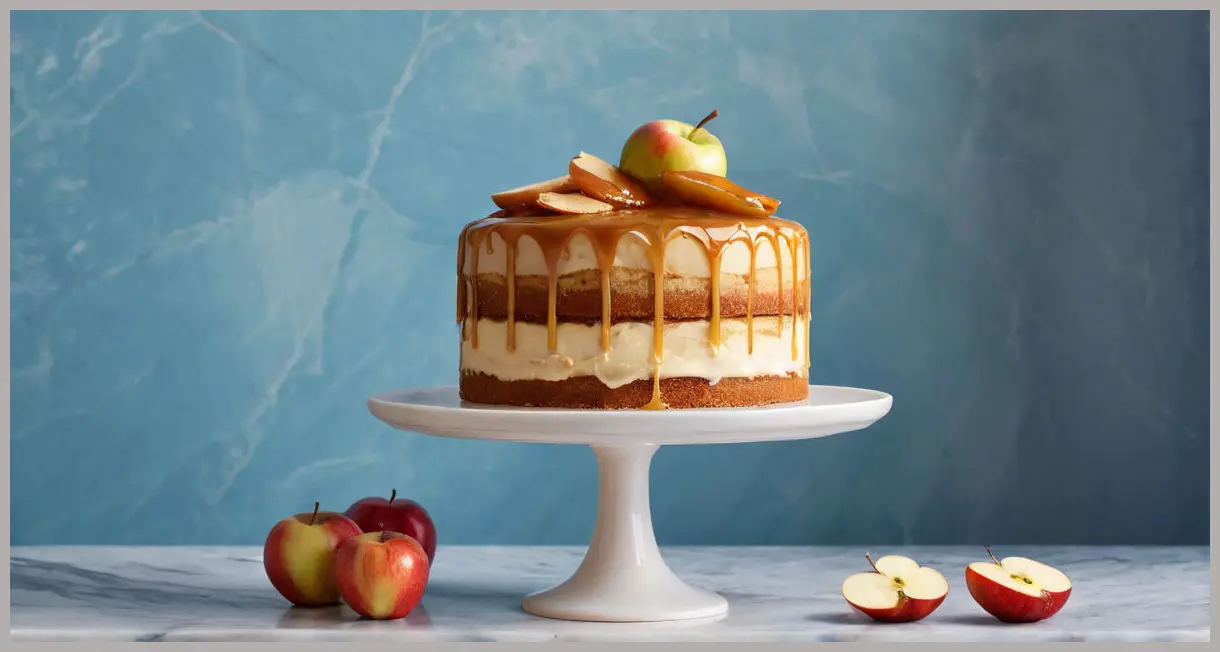
If you’ve ever dreamed of serving a show‑stopping dessert without needing a pastry‑chef’s degree, the Apple Caramel Layer Cake is your ticket. This cake combines three light, apple‑infused sponges with silky Greek‑yogurt frosting, caramelised apple slices, and a glossy salted‑caramel glaze that drips down the sides like liquid gold. The result is a dessert that feels luxurious yet is surprisingly approachable for anyone who has mastered a basic sponge cake. In this post we’ll walk you through every detail—from the story behind the cake to the exact ingredients you’ll need, step‑by‑step instructions, and creative serving ideas—so you can bake with confidence and impress any crowd.
Meal Profile
| Attribute | Details |
|---|---|
| Title | Apple Caramel Layer Cake |
| Difficulty | Easy – perfect for beginners to intermediate cooks |
| Portion | Serves 12‑16 (ideal for birthdays, holidays, or a weekend gathering) |
| Time Required | 45 minutes active prep, 1 hour cooking (including baking and cooling) |
| Description | Three moist, apple‑sponges are layered together with caramelised apples, salted caramel sauce and Greek yogurt. This celebration layer cake is utter bliss. Watch our how‑to video below. |
The Apple Caramel Layer Cake hits all the right notes for a celebration dessert: it looks impressive, tastes indulgent, and offers a balanced blend of fruit, dairy, and caramel sweetness. Because the sponges are flavored with pureed apples, the cake stays tender even after a few hours, making it a reliable make‑ahead option for parties.
Ingredient Highlight
Below is a complete, organized list of everything you’ll need. All quantities are taken directly from the original recipe, ensuring you achieve the intended texture and flavor.
For the Apple Sponges
| Ingredient | Amount |
|---|---|
| Cox apples (peeled, cored, chopped) | 4 c |
| Caster sugar (for the apple purée) | 340 g + 50 g |
| Unsalted butter (room temperature, plus extra for greasing) | 375 g + extra |
| Large free‑range eggs | 5 |
| Self‑raising flour | 385 g |
| Baking powder | 1 tsp |
| Eating apples (e.g., Braeburn, sliced thin lengthwise) | 4 |
| Additional butter (for caramelising apples) | 70 g |
| Thick full‑fat Greek yogurt (e.g., Total Full Fat) | 350 ml |
| Unsalted butter (for caramel sauce) | 75 g |
| Soft light brown sugar (for caramel sauce) | 50 g |
| Caster sugar (for caramel sauce) | 50 g |
| Golden syrup (for caramel sauce) | 50 g |
| Icing sugar (for caramel sauce) | 20 g |
| Double cream (for caramel sauce) | 230 ml |
Pro tip: Using a mix of Cox apples for the sponge (which hold their shape when cooked) and Braeburn apples for the caramelised filling (which caramelise beautifully) creates a delightful texture contrast.
Equipment Checklist
- Three 20 cm (8‑inch) round cake tins
- Parchment paper (baking paper)
- Electric hand mixer or stand mixer
- Metal spoon for folding
- Fine sieve for flour & baking powder
- Serrated knife for cutting the finished cake
- Small saucepan or sauté pan for caramelising apples and sauce
Step‑by‑Step Instructions
Follow these numbered steps exactly as written. Each instruction pulls directly from the original method array, preserving the author’s intent while presenting a clear, linear workflow.
-
Preheat & Prepare Tins – Preheat the oven to 170 °C (fan 150 °C, gas 3½). Grease and line the sides and bottoms of three 20 cm cake tins with baking paper.
-
Make Apple Purée – Peel, core, and chop the 4 c Cox apples. Place them in a pan over medium‑high heat, add 100 ml water and 50 g caster sugar. Cook 10–15 minutes, stirring frequently and adding more water if needed, until the mixture turns into a smooth purée. Remove from heat and let it cool completely.
-
Cream Butter & Sugar – In a mixing bowl, cream the 375 g room‑temperature butter with the remaining caster sugar using an electric hand mixer until light and fluffy.
-
Incorporate Eggs & Apple Purée – Beat in the five eggs one at a time, ensuring each egg is fully incorporated before adding the next. Then fold in the cooled apple purée, mixing until just combined.
-
Add Dry Ingredients – Sift together the 385 g self‑raising flour, 1 tsp baking powder, and a pinch of salt. Gently fold the dry mixture into the batter with a metal spoon, being careful not to over‑mix.
-
Divide & Bake – Evenly divide the batter among the three prepared tins. Bake for 30 minutes, or until the sponges spring back when touched. If baking all three layers simultaneously, rotate the tins halfway through: move the top tin to the middle position and the middle tin to the top, leaving the bottom tin where it is, and add an extra 5 minutes if needed.
-
Cool the Sponges – Allow the cakes to rest in their tins for 10 minutes, then turn them out onto a wire rack to cool completely.
-
Prepare Caramelised Apples – While the sponges cool, peel and core the four Braeburn apples, then slice them thinly lengthwise. In a pan over medium‑high heat, combine the sliced apples with 50 g caster sugar and 70 g butter.
-
Caramelise the Apples – Cook, stirring often, for about 15 minutes until the apples turn a light golden caramel colour. If the mixture browns too quickly, lower the heat or remove the pan briefly. Transfer the caramelised apples to a sheet of baking paper using a slotted spoon and set aside to cool.
-
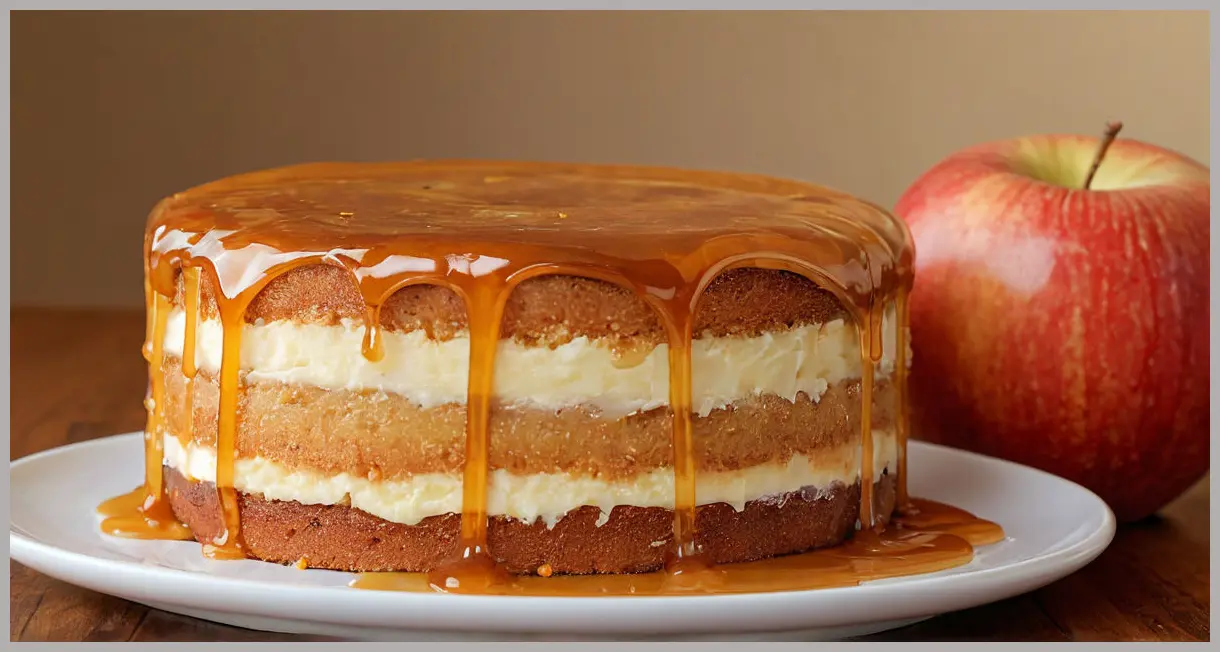
Assemble the First Two Layers – Place one cooled sponge on a serving plate. Spread roughly half of the 350 ml Greek yogurt over the surface, then scatter just under half of the caramelised apple slices. Top with a second sponge and repeat the yogurt‑and‑apple layering.
-
Add the Final Layer – Place the third sponge on top of the stack, creating a three‑tiered cake.
-
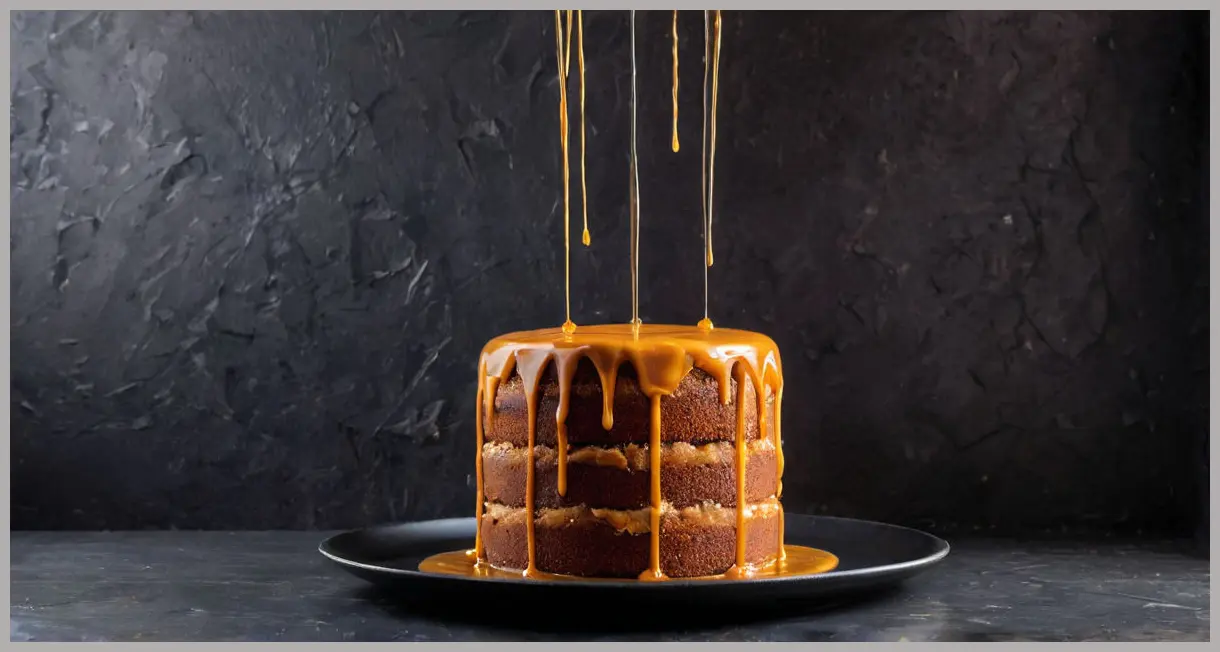
Make the Salted Caramel Sauce – In a saucepan, combine the 75 g butter, 50 g soft light brown sugar, 50 g caster sugar, 50 g golden syrup, 20 g icing sugar, and 230 ml double cream. Heat gently, stirring continuously, until everything melts and the mixture simmers. Continue to simmer for 7–8 minutes, stirring, until the sauce turns a deep golden caramel.
-
Glaze the Cake – Pour the warm caramel sauce over the top of the assembled cake, allowing it to cascade down the sides.
-
Set & Serve – Let the cake rest in a cool place for about 1 hour (this helps the caramel set and the flavors meld). When ready, slice with a serrated knife for clean cuts and serve.
Serving Suggestions & Variations
Classic Presentation
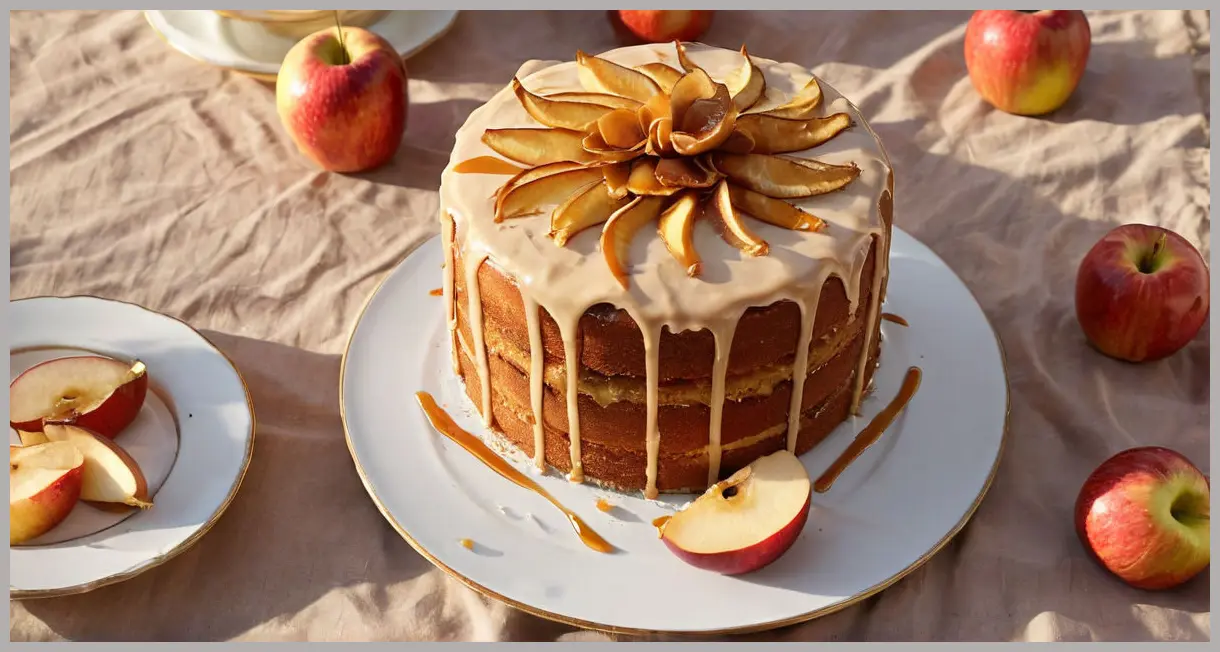
- Plating: Place the cake on a large, neutral‑coloured platter. Drizzle any leftover caramel sauce around the base for a polished look.
- Garnish: Add a few fresh apple slices, a sprinkle of toasted almond slivers, or a dusting of powdered sugar for visual contrast.
Flavor Twists
| Variation | How to Adapt |
|---|---|
| Spiced Apple | Add ½ tsp ground cinnamon and a pinch of nutmeg to the apple purée before folding it into the batter. |
| Nutty Crunch | Fold ¼ cup toasted chopped walnuts into the caramelised apple mixture for extra texture. |
| Vegan Friendly | Substitute the butter with a plant‑based alternative, use aquafaba (3 tbsp per egg) instead of eggs, and replace Greek yogurt with coconut‑based yogurt. The caramel sauce can stay dairy‑free by using coconut cream. |
| Mini Cakes | Divide the batter into 12‑inch muffin tins for individual servings. Adjust baking time to 15–18 minutes. |
| Caramel‑Apple Cream Cheese Frosting | Swap the Greek yogurt for a blend of 200 g cream cheese, 100 g Greek yogurt, and a tablespoon of the caramel sauce. Pipe between layers for a richer finish. |
Pairings
- Beverage: Serve with a glass of chilled hard cider, a lightly spiced chai latte, or a crisp Riesling.
- Side Treat: A small scoop of vanilla bean ice cream or a dollop of whipped cream balances the caramel richness.
Storage Tips
- Refrigeration: Because the cake contains Greek yogurt, store it covered in the fridge for up to 3 days. Bring to room temperature for 20 minutes before serving for optimal texture.
- Freezing: Wrap the fully assembled cake tightly in plastic wrap, then foil. Freeze for up to 2 months. Thaw overnight in the fridge and let sit at room temperature before serving.
Conclusion
The Apple Caramel Layer Cake proves that an elegant, multi‑layer dessert doesn’t have to be intimidating. By breaking the process into manageable steps—pureeing apples for a moist sponge, caramelising fresh apple slices for a burst of flavor, and finishing with a silky salted‑caramel glaze—you’ll create a cake that looks as impressive as it tastes. Its easy difficulty level, generous portion size, and adaptable nature make it perfect for beginners who want to step up their baking game, as well as seasoned home cooks looking for a reliable show‑stopper.
Take the time to enjoy each stage: the sweet aroma of apples turning to purée, the golden caramel bubbling in the pan, and the satisfying pour of sauce over the layered cake. When the final slice lands on your plate, you’ll taste the harmony of fruit, dairy, and caramel—a true celebration in every bite.
Ready to bake? Gather your ingredients, preheat that oven, and let the Apple Caramel Layer Cake become the centerpiece of your next gathering. Happy baking!

Leave a Reply