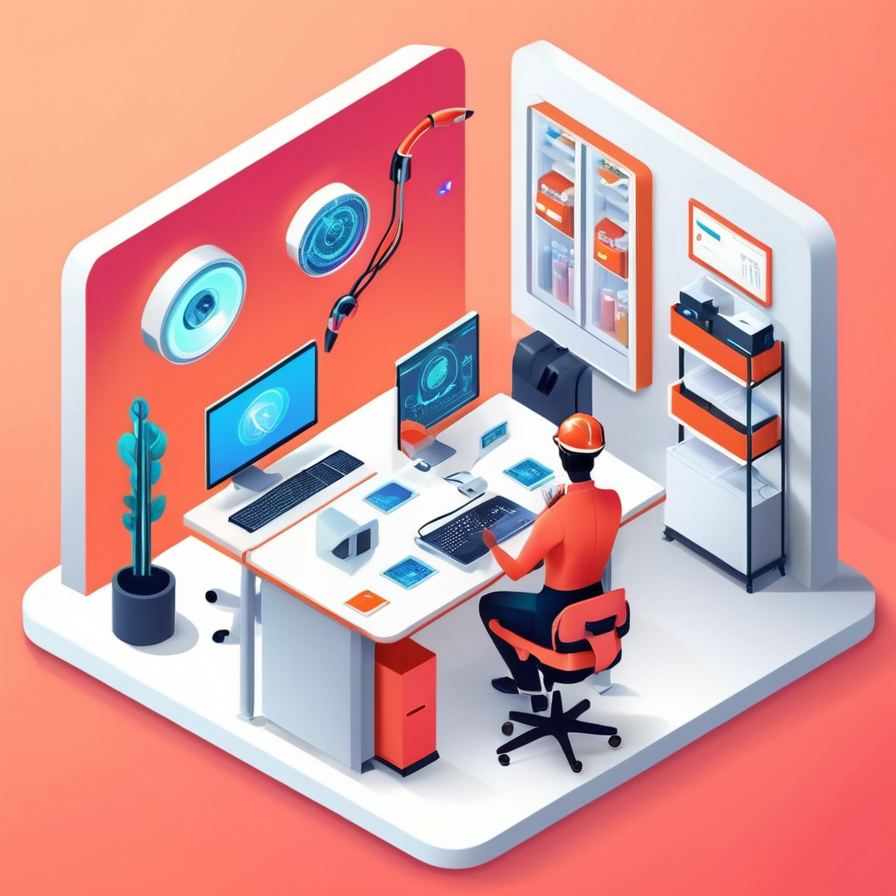
AI design tools beginners — The landscape of design has shifted dramatically. Just a few years ago, creating a professional-looking logo, editing a complex photograph, or building a website wireframe required years of specialized training and expensive, intimidating software. The steep learning curve of traditional tools like Photoshop or Illustrator was a genuine barrier to entry. Today, that barrier has crumbled. The new generation of AI design tools has abstracted away the technical complexity, leaving you with interfaces that understand intent, not just commands. For a beginner in 2026, the question is no longer *can* you design, but rather *which tool* will best translate the picture in your head into something tangible and polished.


This is not about automation replacing creativity. It is about compression—compressing the time between idea and execution. If you are a small business owner who needs a brand identity, a content creator who needs thumbnails that click, or a student who needs to present data beautifully, you no longer need to outsource the job or spend months on tutorials. The tools I am about to walk you through are the ones that balance raw capability with an interface that doesn't make you want to close the tab. We will skip the vaporware and hype cycles and focus strictly on software that works reliably right now, specifically for someone who has never opened a design program before. AI design tools beginners AI design tools beginners
Table of Contents
The Core Criteria: What Makes a Tool "Beginner-Friendly" in 2026
Before diving into specific names, we need a framework. A tool isn't beginner-friendly just because it has fewer buttons. In fact, overly simplistic tools can be frustrating because they lack the depth needed to fix AI-generated mistakes. A true beginner tool in 2026 must meet a specific set of psychological and technical criteria that respects your intelligence while shielding you from unnecessary complexity. AI design tools beginners AI design tools beginners
The "Text-to-Visual" Paradigm Shift
The most fundamental shift for beginners is the death of the blank canvas problem. Historically, opening a design tool meant staring at an infinite white void, cursor blinking, with no starting point. This is the single biggest cause of design abandonment. Modern AI tools solve this by inverting the creation process. You don't start by manipulating objects; you start by describing an outcome. "A moody podcast cover for a true crime show set in the Pacific Northwest" is a valid starting prompt. The tool generates a near-complete composition, and your job shifts from *creation* to *curation* and *refinement*. This is a lower-cognitive-load activity. It is easier to look at four variations and say "make number two more minimalist" than it is to build number two from scratch. For a beginner, this is liberation from the paralysis of infinite choice. AI design tools beginners AI design tools beginners
Intelligent Defaults Over Infinite Settings
Professional designers need granular control over kerning, vector paths, and color profiles. A beginner needs the opposite. The best tools in 2026 ship with deeply intelligent defaults that are context-aware. When you ask an AI to generate a "restaurant menu," the system shouldn't just spit out text and images; it should automatically apply a typographic scale suitable for a menu, establish a grid that accommodates prices and descriptions, and select a color palette that stimulates appetite. The user should not need to know that "leading" refers to line spacing—the AI should just make the text readable. This principle extends to export settings, resolution, and color modes. A beginner in 2026 should never have to Google "CMYK vs RGB" to print a flyer; the tool should handle that conversion silently. AI design tools beginners AI design tools beginners
The "One-Click Fix" Capability
AI generation is stochastic—it makes mistakes. Hands come out with six fingers, text gets garbled, and backgrounds blend into subjects. A tool is only as good as its recovery mechanism. For a beginner, advanced manual retouching tools like the clone stamp or pen tool are non-starters. The defining feature of a 2026 beginner tool is the ability to highlight a problem area, type a fix, and see it resolved. If the AI generates a beautiful living room but puts a lamp where you want a plant, you should be able to circle the lamp, type "replace with a monstera plant," and get a seamless, lighting-matched result. Without this, the beginner is left with a nearly perfect image ruined by one AI artifact, which is a deeply frustrating experience. AI design tools beginners AI design tools beginners For more context, read AI SEO Tools for Beginners 2026.
Canva: The Ecosystem That Became an Operating System
Canva has completed its transition from a "simple graphic design tool" to a full creative operating system. It remains the most logical starting point for any beginner in 2026, not because it is the most powerful in any single category, but because it has achieved a cohesion that no other platform matches. Its AI features are not bolted on; they are woven into the fabric of the workflow so seamlessly that you often don't realize you're using them. AI design tools beginners AI design tools beginners
Magic Studio: A Suite, Not a Single Feature
Canva's Magic Studio is the umbrella term for its integrated AI suite, and it is the primary reason a beginner should start here. Magic Design takes a prompt or an uploaded piece of media and generates fully populated templates. You can upload a rough photo of a product taken on your phone, and Magic Design will remove the background, suggest a color palette based on the product's hues, and generate a series of social media posts with placeholder text that matches your brand's voice. The critical distinction in 2026 is the context retention across the suite. If you use Magic Write to generate copy for a flyer, the tone and style are automatically consistent with the visual grammar Magic Design applied. You don't have to manually align your visual and verbal identity; the system does it for you. AI design tools beginners AI design tools beginners
Brand Kit Intelligence and Auto-Resize
For a beginner who is also a business owner, maintaining brand consistency is a hidden nightmare. Canva's Brand Kit now goes beyond storing logos and hex codes. It actively analyzes your uploaded assets and infers rules. If you upload three past designs you like, the Brand Kit will identify that you tend to use rounded sans-serif fonts, a muted pastel palette, and photography with shallow depth of field. It then encodes these preferences as a "Brand Voice" profile. When you start a new design, the AI proactively suggests templates that violate your established rules the least. Furthermore, the Magic Switch feature solves the multi-platform formatting problem that plagues beginners. You design an A4 flyer, and with one click, Magic Switch translates that design into a perfectly reformatted Instagram Story, a landscape YouTube thumbnail, and a vertical TikTok video, intelligently reflowing text and cropping images to protect the focal points. AI design tools beginners AI design tools beginners
Adobe Firefly: The Professional's Sandbox, Made Accessible
Adobe occupies a strange position. It holds the crown for professional creative software, a reputation that often scares beginners away. However, Adobe Firefly, particularly as it is embedded into Adobe Express and Photoshop, has become surprisingly approachable. The reason to choose the Adobe ecosystem over Canva is generative precision. Canva helps you arrange elements; Adobe helps you *create* those elements from scratch with a fidelity that Canva cannot match. AI design tools beginners AI design tools beginners
Generative Fill and the Power of "Remove"
Generative Fill is the feature that has sold more Adobe subscriptions to non-designers than any other. The workflow is so intuitive it feels like magic. You upload any photo, draw a loose selection around an object—an ex-partner in a group photo, a trash can in a landscape, a logo on a shirt—and hit "Generate" without typing a prompt. Photoshop analyzes the surrounding pixels and removes the object, reconstructing the background with textures that match the lighting and perspective. For a beginner, this is the ultimate safety net. You don't need to understand layer masks, content-aware sampling, or patch tools. You just lasso the problem and it vanishes. Conversely, Generative Fill allows you to add elements. You select an empty area, type "a sleeping orange tabby cat," and the AI inserts a cat with matching shadows and depth of field. The 2026 model handles reflections and transparent objects with a reliability that was science fiction two years ago. AI design tools beginners AI design tools beginners
Text-to-Vector and Recolor Vectors
Adobe Firefly's text-to-vector capability is a gateway drug into the world of scalable graphics. Beginners often don't understand the difference between raster and vector, and they shouldn't have to. They just know they want a logo that doesn't get pixelated on a billboard. In Adobe Express, you can type "minimalist line art of a mountain range for a coffee brand" and receive editable vector graphics. You can then use the Generative Recolor feature to type a mood, like "vaporwave sunset," and see the vector art instantly recolored with a cohesive palette. This bypasses years of learning the pen tool and color theory. It allows a beginner to create a technically sound, infinitely scalable logo in minutes, and because it's a true vector, they can hand it off to a professional printer or sign maker without the file being rejected. AI design tools beginners AI design tools beginners
Relume: From a Single Sentence to a Complete Website Map
Design isn't just about graphics; web design is a massive category where beginners struggle. The problem with website builders has always been that they give you a blank page and a library of components, which is just the blank canvas problem in a different form. Relume solves this by targeting the information architecture layer first, using AI to structure the content before a single pixel is placed. AI design tools beginners AI design tools beginners
AI Sitemap and Wireframe Generation
Relume's most radical beginner feature is its sitemap generator. You type a sentence describing the business: "A boutique dog grooming service in Portland that offers house calls and organic shampoos." Relume generates a complete sitemap—Home, Services, About, Booking, Contact—and then populates each page with wireframes. These aren't just empty boxes with "lorem ipsum." The AI generates contextually relevant, first-draft copy for headlines and body text, and it suggests specific section types. For the Services page, it might wireframe a hero section with a headline about "Spa Day at Your Doorstep," a three-column section for the different grooming packages, a testimonial carousel, and a FAQ accordion. The beginner's job is now editorial, not architectural. You delete sections you don't like, reorder them by dragging, and tweak the copy. This eliminates the existential dread of building a website structure from scratch. AI design tools beginners AI design tools beginners
The Figma Pipeline and Client Handoff
Relume's output is not a walled garden. It exports directly to Figma and Webflow with clean, auto-layout structures. For a beginner who might eventually work with a professional developer, this is a lifeline. You can build the entire wireframe and even the first pass of copy in Relume, then export to Figma where a designer can apply a custom visual skin. This means a beginner can do 70% of the strategic web design work—deciding what content goes where—and leave the complex visual styling to a professional. This dramatically reduces the cost of hiring a designer because you are not paying them to sit in meetings trying to extract a sitemap from your head. You are handing them a fully structured, content-populated document and saying, "Make this beautiful." The AI has facilitated a clean handoff between the non-designer and the professional, a process that was historically riddled with miscommunication. AI design tools beginners AI design tools beginners
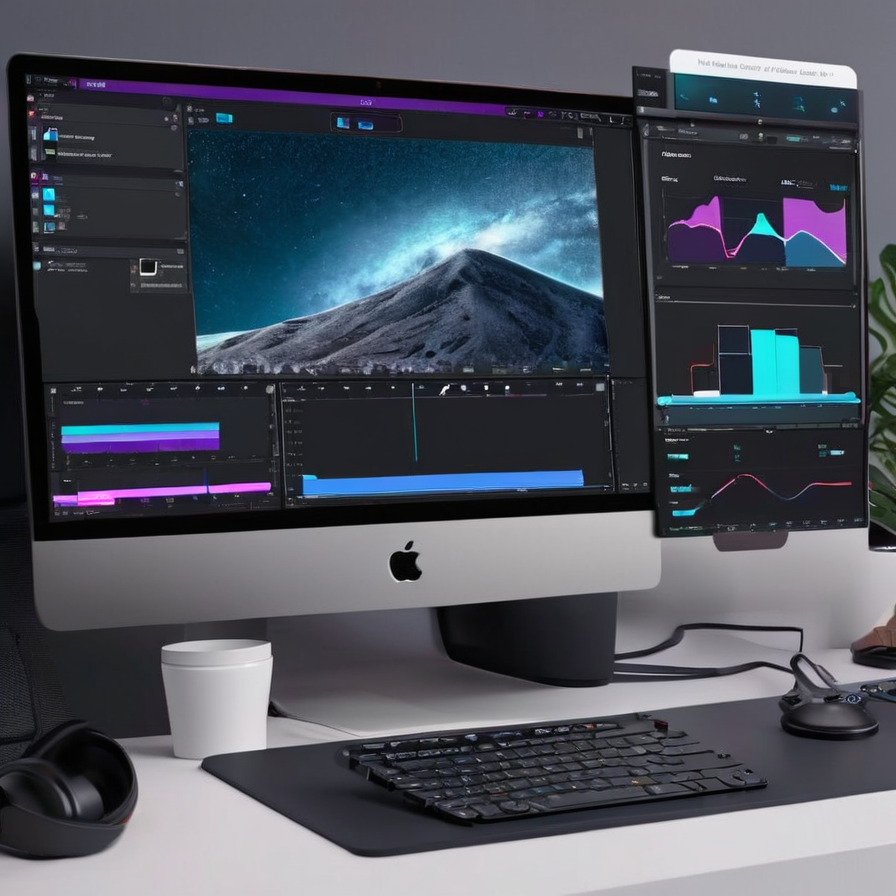
Runway: Motion and Video for the Static Designer
Video remains the most intimidating medium for beginners. The timeline, the layers, the keyframes, the audio syncing—it's a multi-dimensional puzzle. Runway has systematically dismantled this complexity by making video behave more like an image generator, where direct manipulation and text prompts replace traditional editing paradigms. AI design tools beginners AI design tools beginners For more context, read AI Tools for Small Business 2026.
Text-to-Video and the Director's Mindset
Runway's Gen-3 and Gen-4 models allow you to generate video clips from text prompts, but the beginner-friendly breakthrough is the director mode. You can specify camera movements in natural language: "slow dolly in," "crane up," "handheld shaky cam." You don't need to know what a "dolly" is technically; you just know the emotional effect you want—a slow, dramatic push-in on a subject. The AI interprets the intent. Moreover, Runway allows you to provide a starting image and then animate it. A beginner can create a single beautiful frame in Midjourney or Firefly, upload it to Runway, and type "gentle breeze moving the leaves and hair, cinematic lighting, slow motion." The tool generates a 4-second clip that turns a static composition into a living scene. This is the bridge between graphic design and video editing that didn't exist before. AI design tools beginners AI design tools beginners
Inpainting in Motion and Super Slow-Mo
The true magic for beginners is the motion brush. You paint over a specific area of a video—say, a car's wheel—and then apply a motion vector. The AI understands that the wheel should rotate while the rest of the car moves forward, maintaining the physical integrity of the object. This allows for complex visual effects without a single keyframe being manually set. Another powerful tool is the AI super slow-motion. You can take any video shot at a standard frame rate and convert it to buttery slow motion. The AI generates the intermediate frames, preventing the stuttery, ghosting artifacts that digital slow-mo usually produces. For a beginner creating a product showcase or a highlight reel, this single feature can make footage shot on a smartphone look like it came from a high-speed cinema camera. AI design tools beginners AI design tools beginners
Khroma and the End of Color Anxiety
Color selection triggers a unique form of anxiety in beginners. The fear of clashing, of being "too loud" or "too dull," leads many to default to monochrome or garish presets. Khroma is an AI tool that attacks this problem through a personalized training model, and it is the most useful utility tool a beginner can keep open in a browser tab. AI design tools beginners AI design tools beginners
Personalized Palette Training
Khroma asks you to select 50 colors you like. This is the only significant input it requires. It then trains a neural network on your preferences and generates thousands of palettes, but more importantly, it shows you those palettes applied to real layouts. You see your colors on typography, on photography with duotone overlays, and in data visualizations. This is crucial because a palette that looks beautiful as five abstract swatches can fall apart when applied to a complex interface. Khroma lets you preview the practical reality of your taste. For a beginner, this is an education in color application without the lecture. You learn that a particular electric blue you love is best used as an accent on dark backgrounds, not as a full-page background color, simply by observing the generated examples. AI design tools beginners AI design tools beginners
Infinite Search and Contrast Checking
Khroma's search function is a semantic color engine. You can search for "warm," "retro 70s," "clinical," or "optimistic," and it will surface palettes from your personalized library that match the descriptor. This bridges the gap between a vague emotional goal ("I want it to feel trustworthy") and a concrete hex code. Crucially, Khroma has built-in accessibility checking. It automatically flags color combinations that fail WCAG contrast ratio standards and suggests adjustments. A beginner might not know that light gray text on a white background is unreadable for visually impaired users, but Khroma will gently prevent that mistake. This bakes inclusive design principles into the workflow from day one, which is far better than retrofitting accessibility after a design is complete. AI design tools beginners Learn more about AI tools for business.
Galileo AI: The Instant UI Prototype Engine
Interface design, whether for mobile apps or dashboards, has a grammar of its own. Navigation patterns, button states, spacing systems—these are invisible rules that make an interface feel "right." Galileo AI generates fully editable UI designs from a text description, and it has become the fastest way for a beginner to move from a feature idea to a visual prototype. AI design tools beginners
Natural Language to High-Fidelity Screens
You describe a screen in plain English: "A meditation app home screen with a daily streak counter, a recommended session card with a nature image, and a bottom navigation bar with home, explore, journal, and profile icons." Galileo AI generates a high-fidelity mockup that looks like it came from a professional UI designer. The icons are appropriate, the spacing follows an 8-point grid system, and the typography is hierarchically sound. The beginner doesn't need to know what an 8-point grid is; they just see that the design looks "clean." Galileo AI has internalized the design systems of successful apps, so it defaults to patterns that feel familiar and usable. This prevents the "frankenstein" interface problem where a beginner cobbles together inconsistent patterns from different sources. AI design tools beginners
Editable Figma Output with Auto-Layout
The generated designs are not dead JPEGs. They export to Figma with full auto-layout and named layers. This is the learning bridge. A beginner can open the Galileo-generated file in Figma and, by inspecting the layers and auto-layout properties, reverse-engineer how a professional interface is structured. They can see that the spacing between sections is 24 pixels, that the corner radius on cards is 12 pixels, and that the text hierarchy uses specific font sizes with consistent ratios. It's a generative tool that also functions as a passive tutor. The beginner can then modify the design, add new screens, and gradually learn the rules by manipulating a structurally sound starting point rather than building from chaos. AI design tools beginners
Do I need any design background to use these AI tools effectively?
No formal design background is required to start. The tools listed here are designed to interpret natural language and provide intelligent defaults. However, your results will improve over time as you develop a vocabulary for describing what you want. Think of it like learning to be a good art director rather than a hands-on artist—you get better at giving clear, specific feedback to the AI, such as "make the shadows softer" or "increase the contrast between the headline and the b
Are AI-generated designs legally safe to use for commercial purposes?
This depends on the specific tool and its training data policy. Adobe Firefly is trained exclusively on licensed content (Adobe Stock) and public domain material, making it the safest choice for commercial use with indemnification included. Canva's AI tools are also built with commercial use in mind. Other tools like Midjourney and Runway have more complex terms; you own the output but the training data provenance is a subject of ongoing legal discussion. Always check the current terms of s
Can AI design tools replace hiring a professional designer?
For many foundational tasks—creating a social media post, a simple logo concept, a website wireframe, or editing product photos—these tools can reduce or eliminate the need to hire a professional. However, for complex brand strategy, custom illustration with a specific artistic voice, intricate user experience flows that require user research, or high-stakes packaging design, a professional brings strategic thinking, taste, and accountability that AI cannot replicate. A practical approach is to
What is the single most important skill to develop when using AI design tools?
The ability to write precise, layered prompts and to iterate critically. A vague prompt like "a good logo" will produce generic results. A layered prompt like "a minimalist geometric logo of a fox, negative space, forest green and gold, clean lines, suitable for a financial technology startup" will produce something much closer to a usable asset. Beyond prompting, the skill of "connoisseurship"—being able to look at four AI-generated options and instantly identify w
How do I avoid making everything I design look like generic AI art?
The "AI look" often comes from over-smooth textures, dramatic volumetric lighting, and compositions that are too symmetrical and centered. To break this, use the AI as a starting point, not the final deliverable. Combine elements from different generations, apply texture overlays or grain in post-processing, use unconventional crops, and deliberately introduce asymmetry. Tools like Canva and Adobe Express allow you to add your own photography or hand-drawn elements on top of AI-generat
Conclusion
The tools I have walked through represent a fundamental redefinition of what it means to be a beginner in design. You are no longer a student who must master a tool before expressing an idea; you are a director who guides an intelligent system toward a vision. Canva remains the most complete on-ramp, an ecosystem where the AI is so integrated that it feels like the software is reading your mind. Adobe Firefly gives you pixel-level creative power without the pixel-level complexity. Relume structures the chaotic process of web design into a logical, editorial flow. Runway opens the door to motion and video with a text-prompt simplicity that flattens the learning curve. Khroma and Galileo AI solve the specific, acute anxieties of color and interface structure respectively. AI design tools beginners
The common thread is the elimination of the blank canvas. In 2026, you never start from nothing. You start with a generation, a suggestion, a trained model of your own taste. Your growth as a designer will not be measured by how many keyboard shortcuts you memorize, but by how precisely you can articulate what you want and how critically you can evaluate what the machine gives you. This is a softer, more human skill set—taste, language, and critical thinking. The tools are ready. The barrier is gone. The only remaining question is what you want to make. AI design tools beginners For more context, read AI Writing Tools for Content Creators 20.