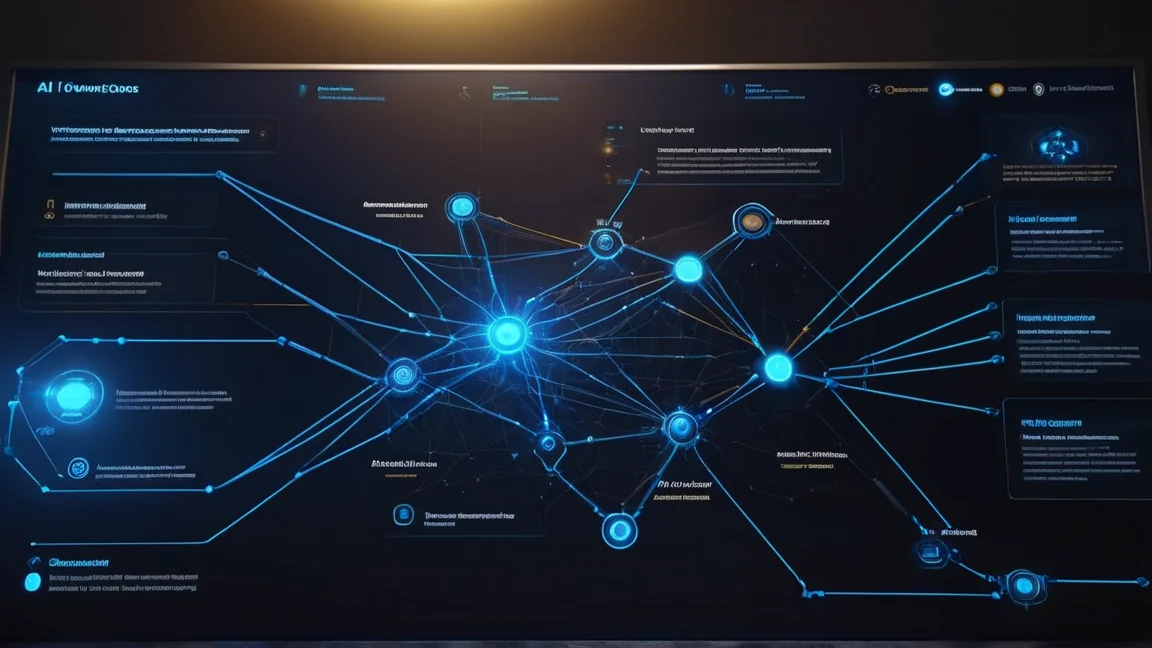
Welcome to the complete ComfyUI workflow automation guide. Below you will find everything you need to turn manual ComfyUI processes into scalable, hands-off production pipelines.
Introduction to ComfyUI Workflow Automation
What is ComfyUI and Why Automate Workflows?
If you are looking for a ComfyUI workflow automation guide, you are in the right place. ComfyUI changes how you work with Stable Diffusion and other generative models. Instead of typing a prompt into a box and hoping for the best, ComfyUI gives you a node-based editor where you wire up every step yourself. This ComfyUI workflow automation guide walks
you through turning manual, repetitive generation tasks into systematic pipelines that run with minimal intervention. For a different take on AI-assisted visuals, our Z-Turbo Logo Generator review covers another approach. You define how data moves from the prompt through the sampler to the VAE decoder. This means you can build pipelines that a simple prompt box was never meant to handle.
Automation matters once you move past tinkering and need real output. Generating a batch of consistent images by hand means changing seeds, adjusting prompt weights, and swapping models for every single iteration. It gets old fast. Automation turns that chore into something systematic: you set the logic, the machine runs it.
In this guide, automation means building a system that runs without you babysitting it. Whether you are generating a hundred character portraits or running an upscale pipeline overnight, the point is to cut down manual intervention during rendering. Your creative decisions get applied consistently across large batches, errors drop, and throughput goes up.
The Shift from Manual Prompting to Node-Based Logic
Most people got into AI art through the prompt box: type text, get image. It works for casual use, but it is unpredictable by nature. Node-based logic treats image generation as a modular project. Instead of hoping the model reads your prompt correctly, you route different prompt segments through separate conditioners or apply ControlNet to specific image regions.
This modularity lets you build what are essentially logic blocks. You can have one node group just for lighting and another for anatomical correction. If something in the image is off, you do not rewrite the entire prompt. You adjust the node responsible for that attribute. That precision is what separates casually prompting from actually building workflows.
Core benefits of automation for professional creators
For professional designers, architects, and concept artists reading this ComfyUI workflow automation guide, time matters most. Automation cuts down iteration friction. When a workflow runs on its own, the gap between having an idea and getting a high-fidelity render shrinks. You can prototype faster and explore more directions in less time than manual methods allow.
Consistency matters too, especially for client work. Keeping a visual style consistent across fifty assets is hard when you are prompting by hand. Automation locks in the mathematical parameters and node configurations, so every output follows the same style guidelines. You stop rolling the dice on each generation and get a reliable pipeline instead.
- Increased throughput: Generate hundreds of variations overnight while you sleep.
- Reproducibility: Save workflow JSONs and recreate specific looks months later.
- Complex integration: Combine inpainting, outpainting, and ControlNet in a single run.
- Resource optimization: Manage VRAM and GPU usage through better node routing.
Overview of the ComfyUI ecosystem and custom nodes
As any ComfyUI workflow automation guide will tell you, the core installation is just the starting point. The community has built a large collection of custom nodes — third-party extensions that add everything from advanced image masking to integration with external APIs. These nodes expand what the software can do well beyond what the base install was designed for, covering things like video interpolation or facial restoration.
These custom nodes are worth integrating. The ComfyUI-Manager, for example, installs missing nodes automatically when you load a workflow from someone else. This sort of interoperability is why the ecosystem keeps growing, with new automation tools coming out almost daily.
Building your first automated ComfyUI workflow

Setting up a base pipeline: loaders, samplers, and VAEs
In this section of the ComfyUI workflow automation guide, we build a solid base pipeline. You need a linear data flow that minimizes manual intervention. This starts with the Load Checkpoint node, which loads your model weights. Make sure your model paths are stable and your checkpoint is compatible with the VAE and CLIP settings you plan to use.
Once the model loads, data splits into the conditioning path (CLIP Text Encode) and the latent space path. The KSampler is where denoising happens. For automation, pay attention to denoise strength and step count. In a batch pipeline, these values need to balance speed and quality. Too many steps slow your queue down; too few produce artifacts.
The pipeline ends with the VAE Decode node. The VAE translates the latent representation back into a viewable image. For consistent output, consider using a standalone VAE Loader instead of the VAE baked into the checkpoint. This lets you swap VAEs across different models to keep color profiles and contrast consistent across an entire automated batch.
Implementing primitive nodes for global variable control
A common bottleneck in workflow automation is changing a single value — like a seed or a prompt keyword — across multiple nodes. Clicking through ten nodes to update one number is slow. The fix is Primitive Nodes. By converting a widget (seed, step count) to an input and connecting it to a Primitive node, you create what amounts to a global variable for your workflow.
For example, instead of embedding a seed value in every KSampler, route all samplers to a single Primitive node. Change the seed once and it propagates through the entire graph. This is especially useful in multi-stage pipelines where you have an initial generation followed by an upscale and face refinement.
- Seed control: Set the Primitive to increment or randomize so every run in a batch produces a unique result.
- Step scaling: Use one Primitive to control step count across both the base sampler and the high-res fix sampler.
- CFG scale: Centralize your Classifier Free Guidance to test how different prompts react to the same strength.
Using batch processing for iterative image generation
As this ComfyUI workflow automation guide shows, true automation means the software works while you are away. Batch processing in ComfyUI generates dozens or hundreds of images by iterating through specific parameters. You do this through the Batch Count in the queue system or with dedicated batch loaders for images. The goal is moving from generating one image at a time to generating entire sets.
To batch effectively, work with the latent image dimensions. Increasing the batch size in the Empty Latent Image node generates multiple images in a single pass, which is faster than queuing them individually. Watch your VRAM, though. Larger batches need more memory. If you run into out-of-memory errors, keep the latent batch size at 1 and queue the prompt multiple times instead.

Step-by-step guide to creating a reusable JSON workflow template
The last step in our ComfyUI workflow automation guide is making your system portable and reusable. ComfyUI stores its logic in JSON files. A standardized template lets you share your setup with teammates or move it between machines without rebuilding the node graph.
- Clean the workspace: Delete unused nodes and orphaned wires that do not contribute to the output.
- Group your nodes: Use the Group feature to box the loaders, samplers, and post-processing sections together. Label them clearly.
- Standardize naming: Rename Primitive nodes to something descriptive, like “GLOBAL_SEED” or “MASTER_CFG.”
- Export as API format: If you plan to trigger this workflow from an external script, export the API format JSON rather than the standard save file.
| Feature | Manual workflow | Automated workflow |
|---|---|---|
| Parameter changes | Manual per node | Centralized via Primitives |
| Image generation | One by one | Batch processing loops |
| Consistency | Variable / human error | Standardized JSON template |
| Reproducibility | Difficult | Exact metadata replay |
Advanced ComfyUI automation and API integration
Streamlining dependencies with ComfyUI Manager
The first real obstacle in any ComfyUI workflow automation guide is environment stability. Managing custom nodes across machines or sharing workflows with a team often leads to “missing node” errors, which stop everything. ComfyUI Manager handles this by automating dependency installation.
The “Install Missing Custom Nodes” feature scans the JSON metadata of a loaded workflow and figures out which repositories are needed. This matters in automation pipelines where workflows get swapped dynamically. Instead of manually searching GitHub for a specific node, the Manager runs git clone and installs dependencies in the background.
Integrating Python scripts via the ComfyUI API
The visual graph is intuitive, but as this ComfyUI workflow automation guide explains, real automation happens when you leave the browser behind. ComfyUI runs as a server-client architecture. Every node and connection is a JSON object that you can manipulate through a REST API. With Python scripts, you bypass the GUI entirely, sending prompts and parameters to the backend to generate images in bulk or in response to external triggers.
To set this up, save your workflow as an “API Format JSON.” Unlike the standard save file, the API format drops visual positioning data and keeps only the execution logic. A Python script loads this JSON, modifies specific values (seed, prompt text, upscale factor), and POSTs the request to the /prompt endpoint. This lets you build generators that iterate through thousands of permutations without touching the interface.

Automated image-to-image loops and upscaling pipelines
ComfyUI workflow automation gets really useful when it creates recursive refinement loops. A single pass is rarely enough for professional work. Automated img2img loops chain the output of one generation as the input for the next, often mixing in latent noise to keep variety while refining detail.
A typical professional pipeline follows a tiered structure: low-resolution initial generation, iterative refinements, and multi-stage upscaling at the end. Using nodes like “Ultimate SD Upscale” or “Tile” inside an automated loop, the system breaks a high-resolution image into smaller chunks, processes each one to avoid VRAM overflow, and stitches them back together.
- Initial pass: Low-res generation from the primary prompt.
- Refinement loop: img2img pass at low denoise strength (0.3 – 0.5) to add texture.
- Tiled upscaling: Break the image into 512×512 tiles for 4K output.
- Final pass: Automated color correction or sharpening via custom nodes.
| Automation level | Primary tool | Key benefit |
|---|---|---|
| Environment | ComfyUI Manager | Automatic dependency handling |
| Execution | Python / REST API | Headless bulk processing |
| Quality | Tiled upscale loops | High-resolution, artifact-free output |
| Workflow | Webhooks / metadata | End-to-end production integration |
Best practices for optimized ComfyUI workflows
Organizing nodes with groups and notes for scalability
This ComfyUI workflow automation guide would be incomplete without best practices. As automation projects get more complex, the tangle of connecting nodes becomes a real bottleneck. How you structure your workspace determines whether you can actually scale. Without a system, coming back to a complex workflow after a week means spending time figuring out what connects where before you can change anything.
Use Groups to wrap specific functional blocks. Instead of loose nodes for image preprocessing, put them in a color-coded group labeled “Image Pre-processing.” This separates the logic visually and lets you move entire sections at once. Categorizing your workflow into modules — “Prompt Engineering,” “Sampling Loop,” “Upscaling Pipeline” — turns a messy map into something you can actually read and maintain.
Optimizing VRAM usage for high-resolution automated batches
Processing large batches of high-resolution images will eventually trigger out-of-memory errors. To keep automation stable, manage VRAM proactively. The main strategy is balancing workload between GPU and system RAM. Use tiled sampling or tiled VAE decoding for resolutions beyond 1024×1024. Tiling breaks the image into chunks the GPU can handle without crashing.
- xformers or sdp-attention: Reduce the memory footprint of the attention mechanism.
- VAE tiling: Use a Tiled VAE node during high-resolution upscaling to avoid memory spikes.
- Model offloading: Configure ComfyUI to move unused models to system RAM, freeing GPU space for generation.
- FP8 precision: Use FP8 checkpoints where possible to reduce VRAM requirements without noticeable quality loss.
Debugging common automation errors and node crashes
Any ComfyUI workflow automation guide should cover debugging: slight variations in input data can trigger unexpected failures. The first debugging step is reading the ComfyUI console logs. Most crashes are not random. They usually come from data type mismatches (passing a latent image into a node that expects pixels) or missing custom node dependencies.
- Check input dimensions: Make sure image dimensions are multiples of 8 or 64 to avoid VAE padding errors.
- Update custom nodes: Use ComfyUI Manager regularly. Many crashes come from bugs that already have patches.
- Validate model paths: Check that automated scripts point to the right model directories to avoid file-not-found errors.
Version control for workflows: saving and sharing .json files
A complete ComfyUI workflow automation guide should emphasize this: in a production environment, treat your workflows like code. Because ComfyUI saves logic as .json files, you can implement version control. Skip the “workflow_final_v2_fixed.json” naming. Use semantic versioning instead, so you can roll back to a stable state if a node update breaks your pipeline.
Wrapping up
This ComfyUI workflow automation guide covered the path from manual prompting to a scalable production pipeline. You start by learning the node-based architecture, then build out conditional logic. Custom nodes bridge the gap between static generation and real automation. Batch processing and iterative refinement take over the repetitive work.
Before putting an automated ComfyUI workflow into production, check these items:
- Resources: Test the workflow at maximum batch size to confirm your GPU VRAM can handle peak load.
- Node compatibility: Are all custom nodes on their latest versions?
- Error handling: Is there a fallback that notifies you if a specific seed or prompt causes a failure?
- Output management: Does your file naming convention prevent overwriting previous assets?
- Quality check: Have you run a set of test prompts to verify automated output matches what you get from the GUI?
Frequently asked questions
What is ComfyUI workflow automation?
ComfyUI workflow automation means building node-based pipelines in ComfyUI that run without manual intervention. You chain loaders, samplers, and post-processing nodes into a reusable system that generates images in bulk, handles parameter changes through Primitive nodes, and can even run headlessly via the API.
Do I need to code to automate ComfyUI workflows?
Not for basic automation. You can build fully automated pipelines using just the visual node editor — connecting Primitive nodes, setting up batch counts, and saving reusable JSON templates. Coding (Python scripts via the REST API) is only needed for advanced use cases like headless generation, webhook triggers, or integrating ComfyUI into a larger production pipeline.
How do I reduce VRAM usage in automated ComfyUI batches?
Use tiled VAE decoding for images above 1024×1024, enable xformers or sdp-attention to shrink the attention memory footprint, offload unused models to system RAM via ComfyUI’s built-in model management, and switch to FP8 checkpoints where quality permits.
For related tools, see our guides on AI image upscaling tools and AI logo generators.
Can I run ComfyUI workflows from a Python script?
Yes. Save your workflow as an API Format JSON, then POST it to ComfyUI’s /prompt endpoint. A Python script can modify seed values, prompt text, or upscale factors before sending each request. This approach is covered in the API integration section of this ComfyUI workflow automation guide.